I tend to do wax once a year. Everyone does wax differently and I have tried many ways. The important thing to realise is that wax gets messy, Seriously messy. So be prepared for a big tidy up.
Step 1, Collect the old wax.
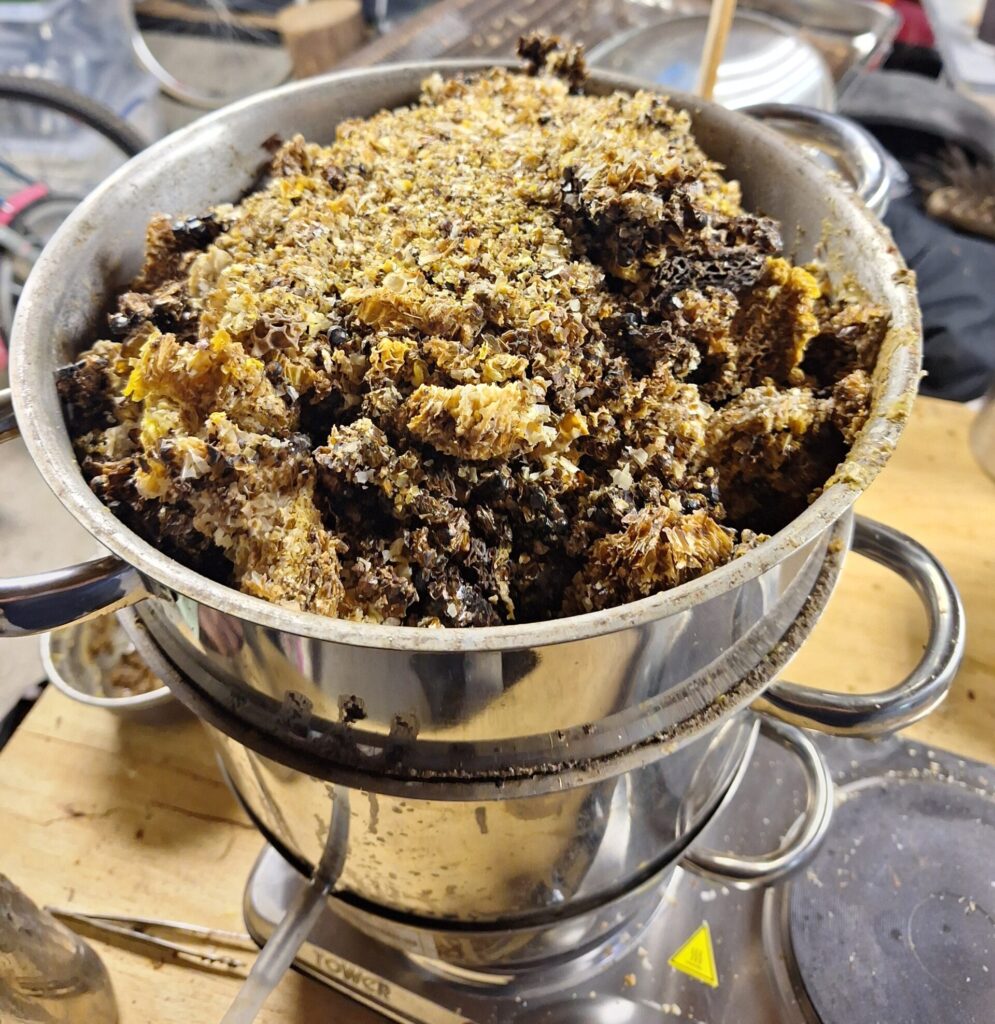
I put all the old broken wax parts into a large bucket and store that up for the year. Mostly I time the wax processing based on the contents of this bucket and the smell that comes out. But basically this is a job that can be done any time I get some down time. Try not to get water in the bucket or you will get mould. The 15 L air tight bucket is great for scraping off frames directly into it. Huge baking trays also help.
My honey harvesting method does not involve removing capping’s so unlike many beekeepers I do not have large amounts of capping’s which are usually regarded as the best quality wax potential.
Step 2, First Melt
The first melt is really to remove the wax from all the rest of the stuff. Now I have tried all sorts here including my home made solar extractor, slow cookers and various steamers. The best I have found is a cordial steamer. This is set up in the garage on a camping electric stove and runs off into some silicone cups.
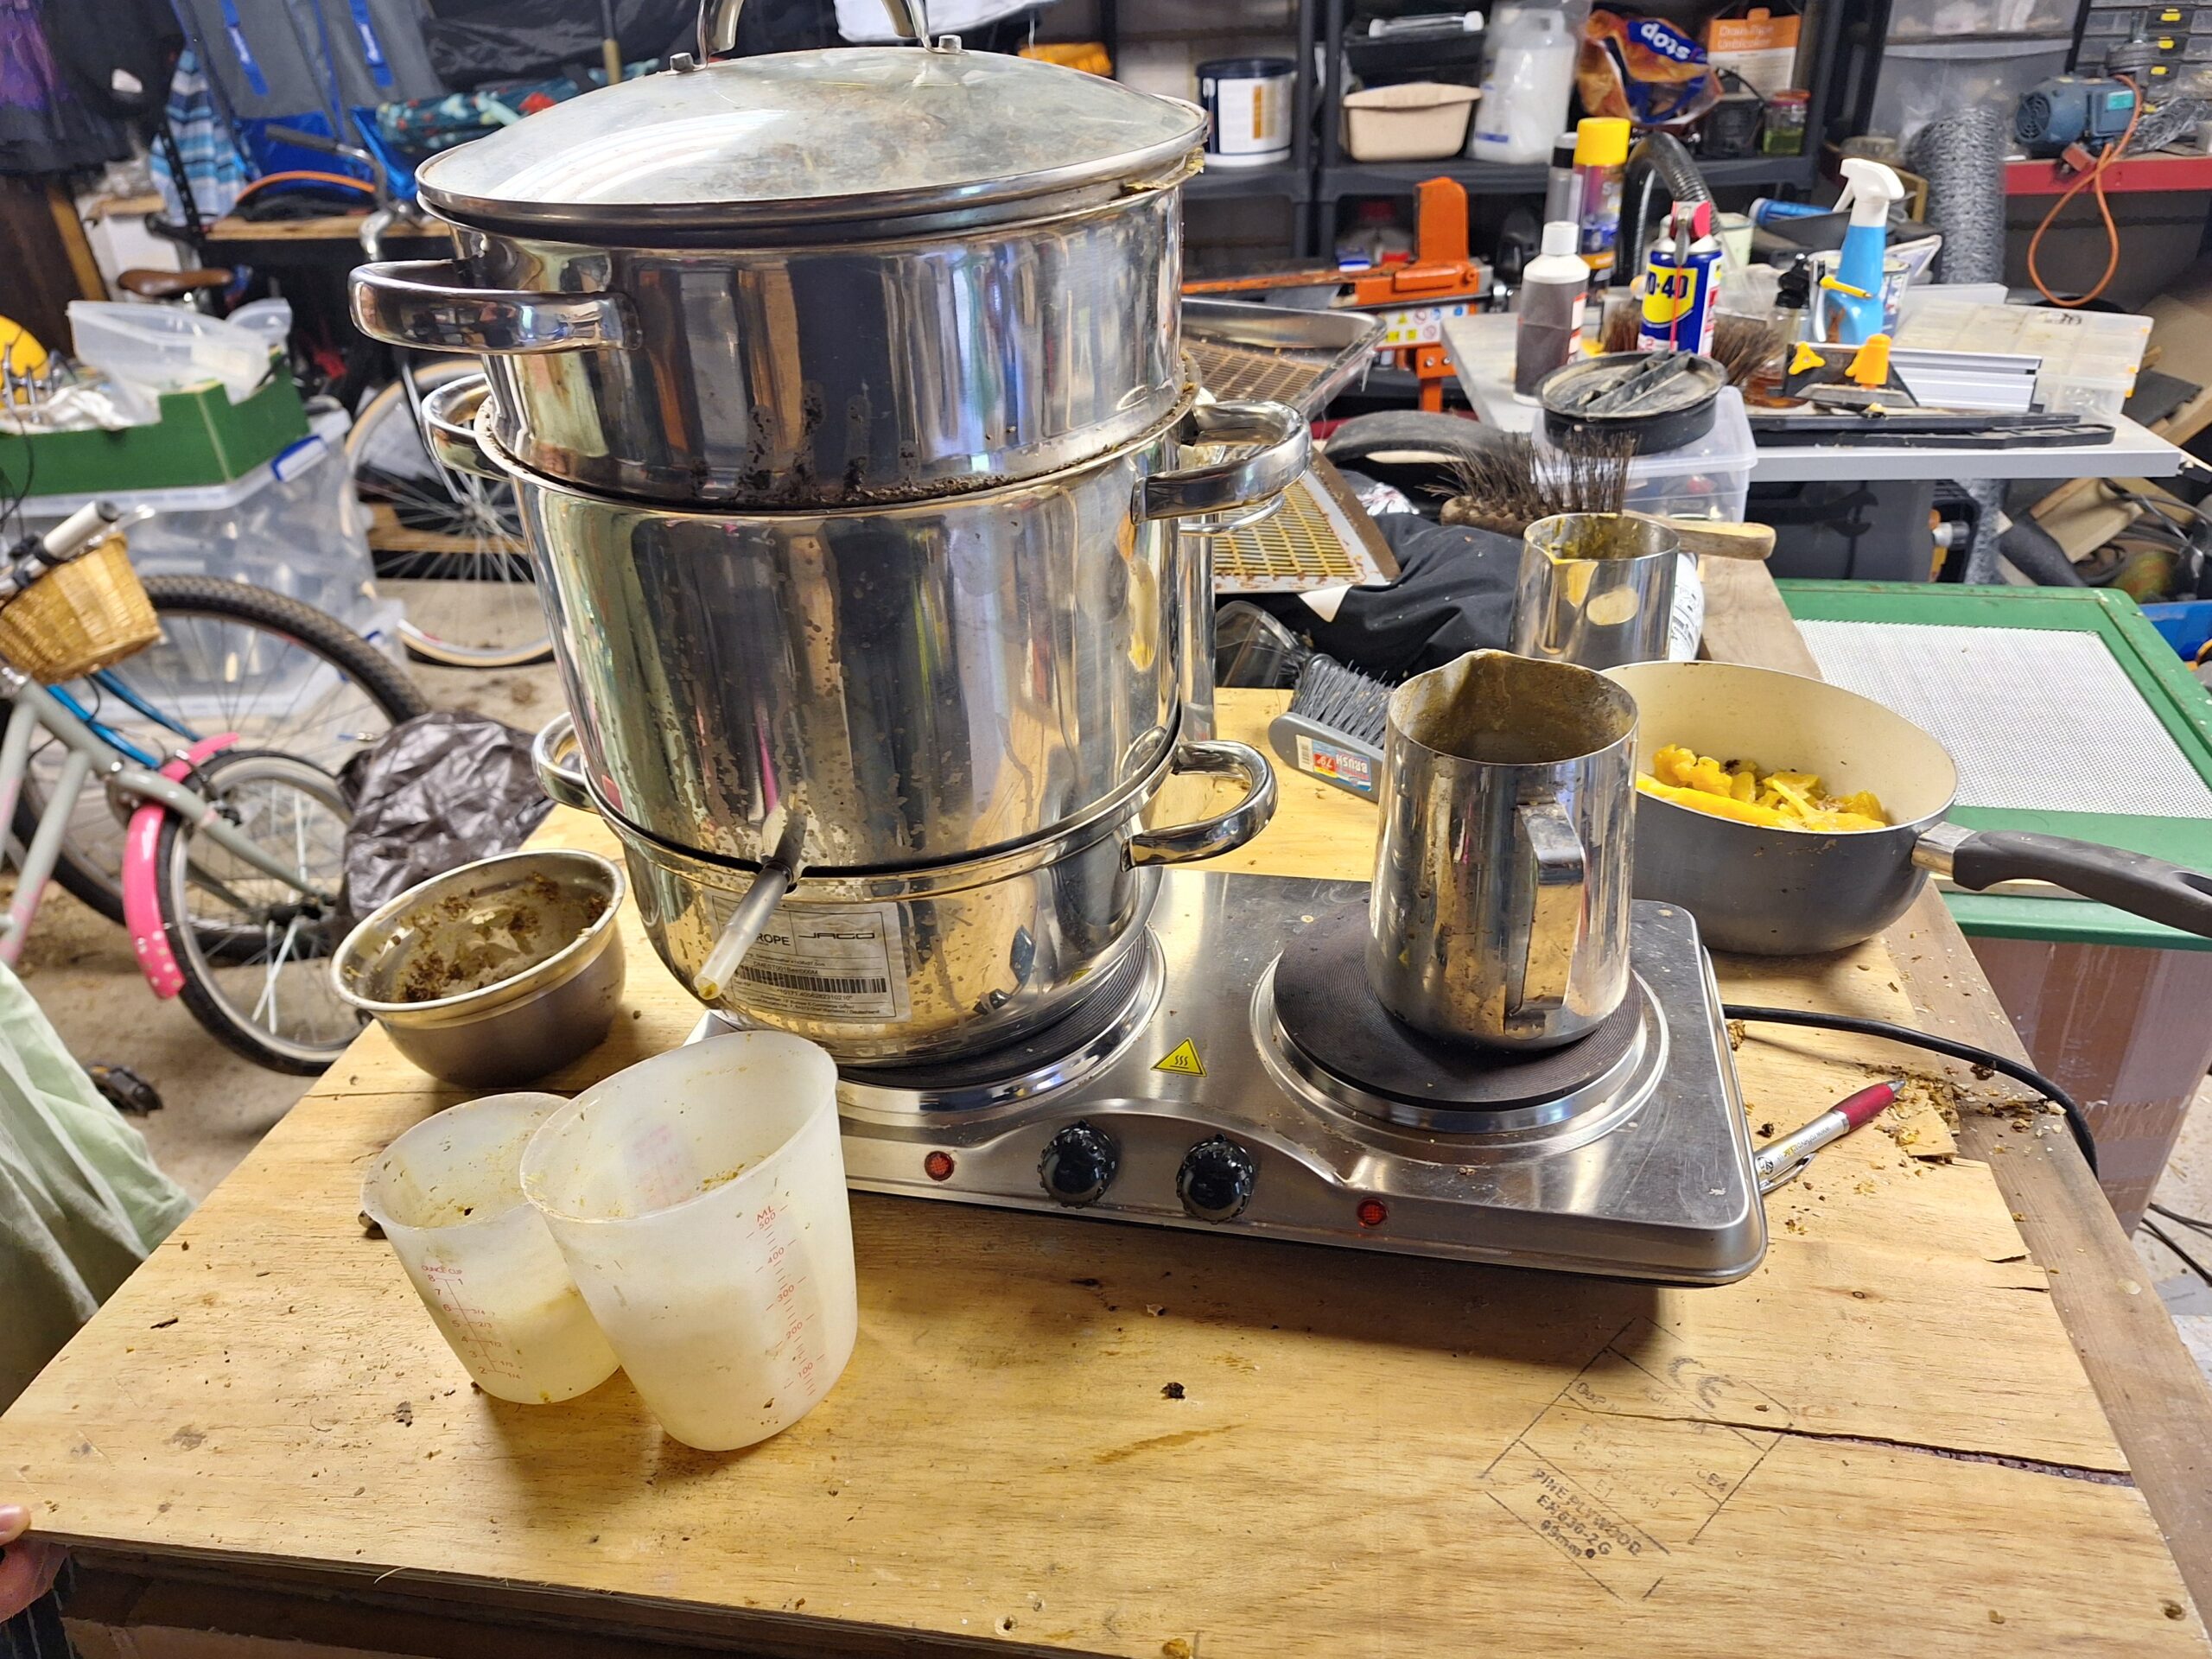
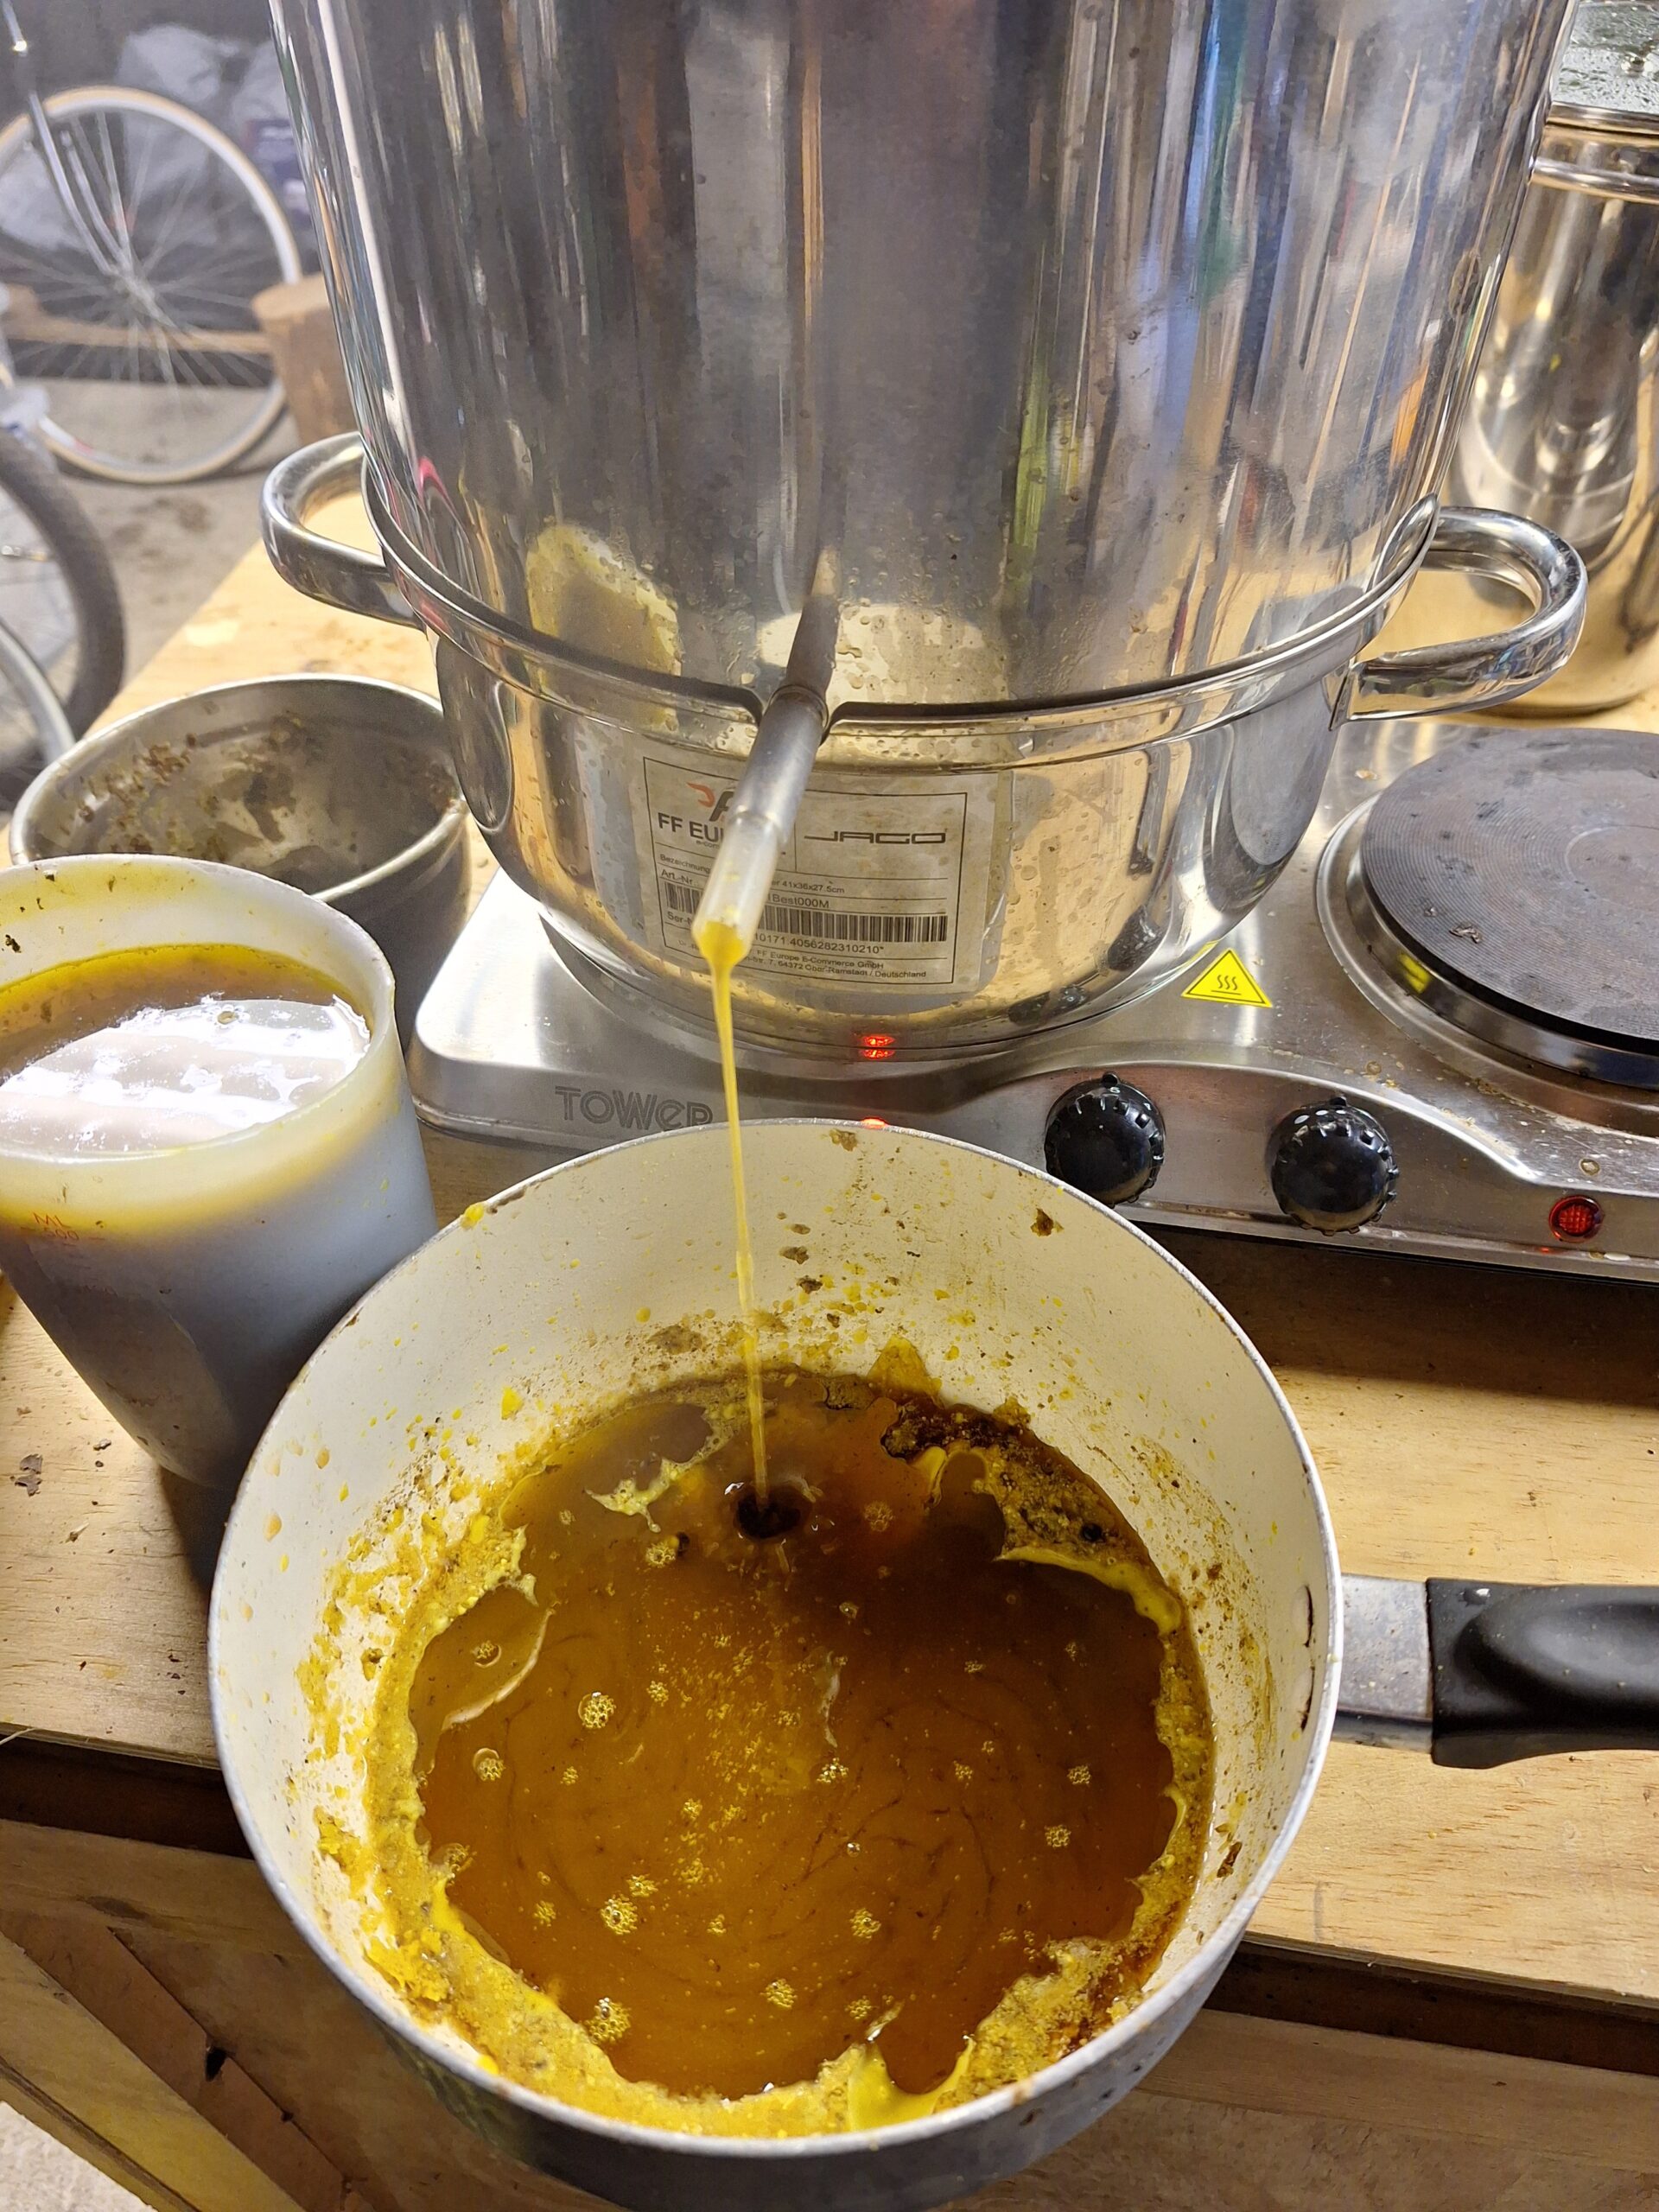
All the raw wax goes in the top with boiling water in the bottom chamber. Pour a little boiling water over the wax to fill the inner compartment and make sure that the cup is under the spout. Lid on and turn up the heat. The steam will rise from the bottom chamber flow over the wax and down through the middle pot and out of the spout. Mix of water and wax will pour out. Let it cool and remove the water.
Step 3, 2nd Melt
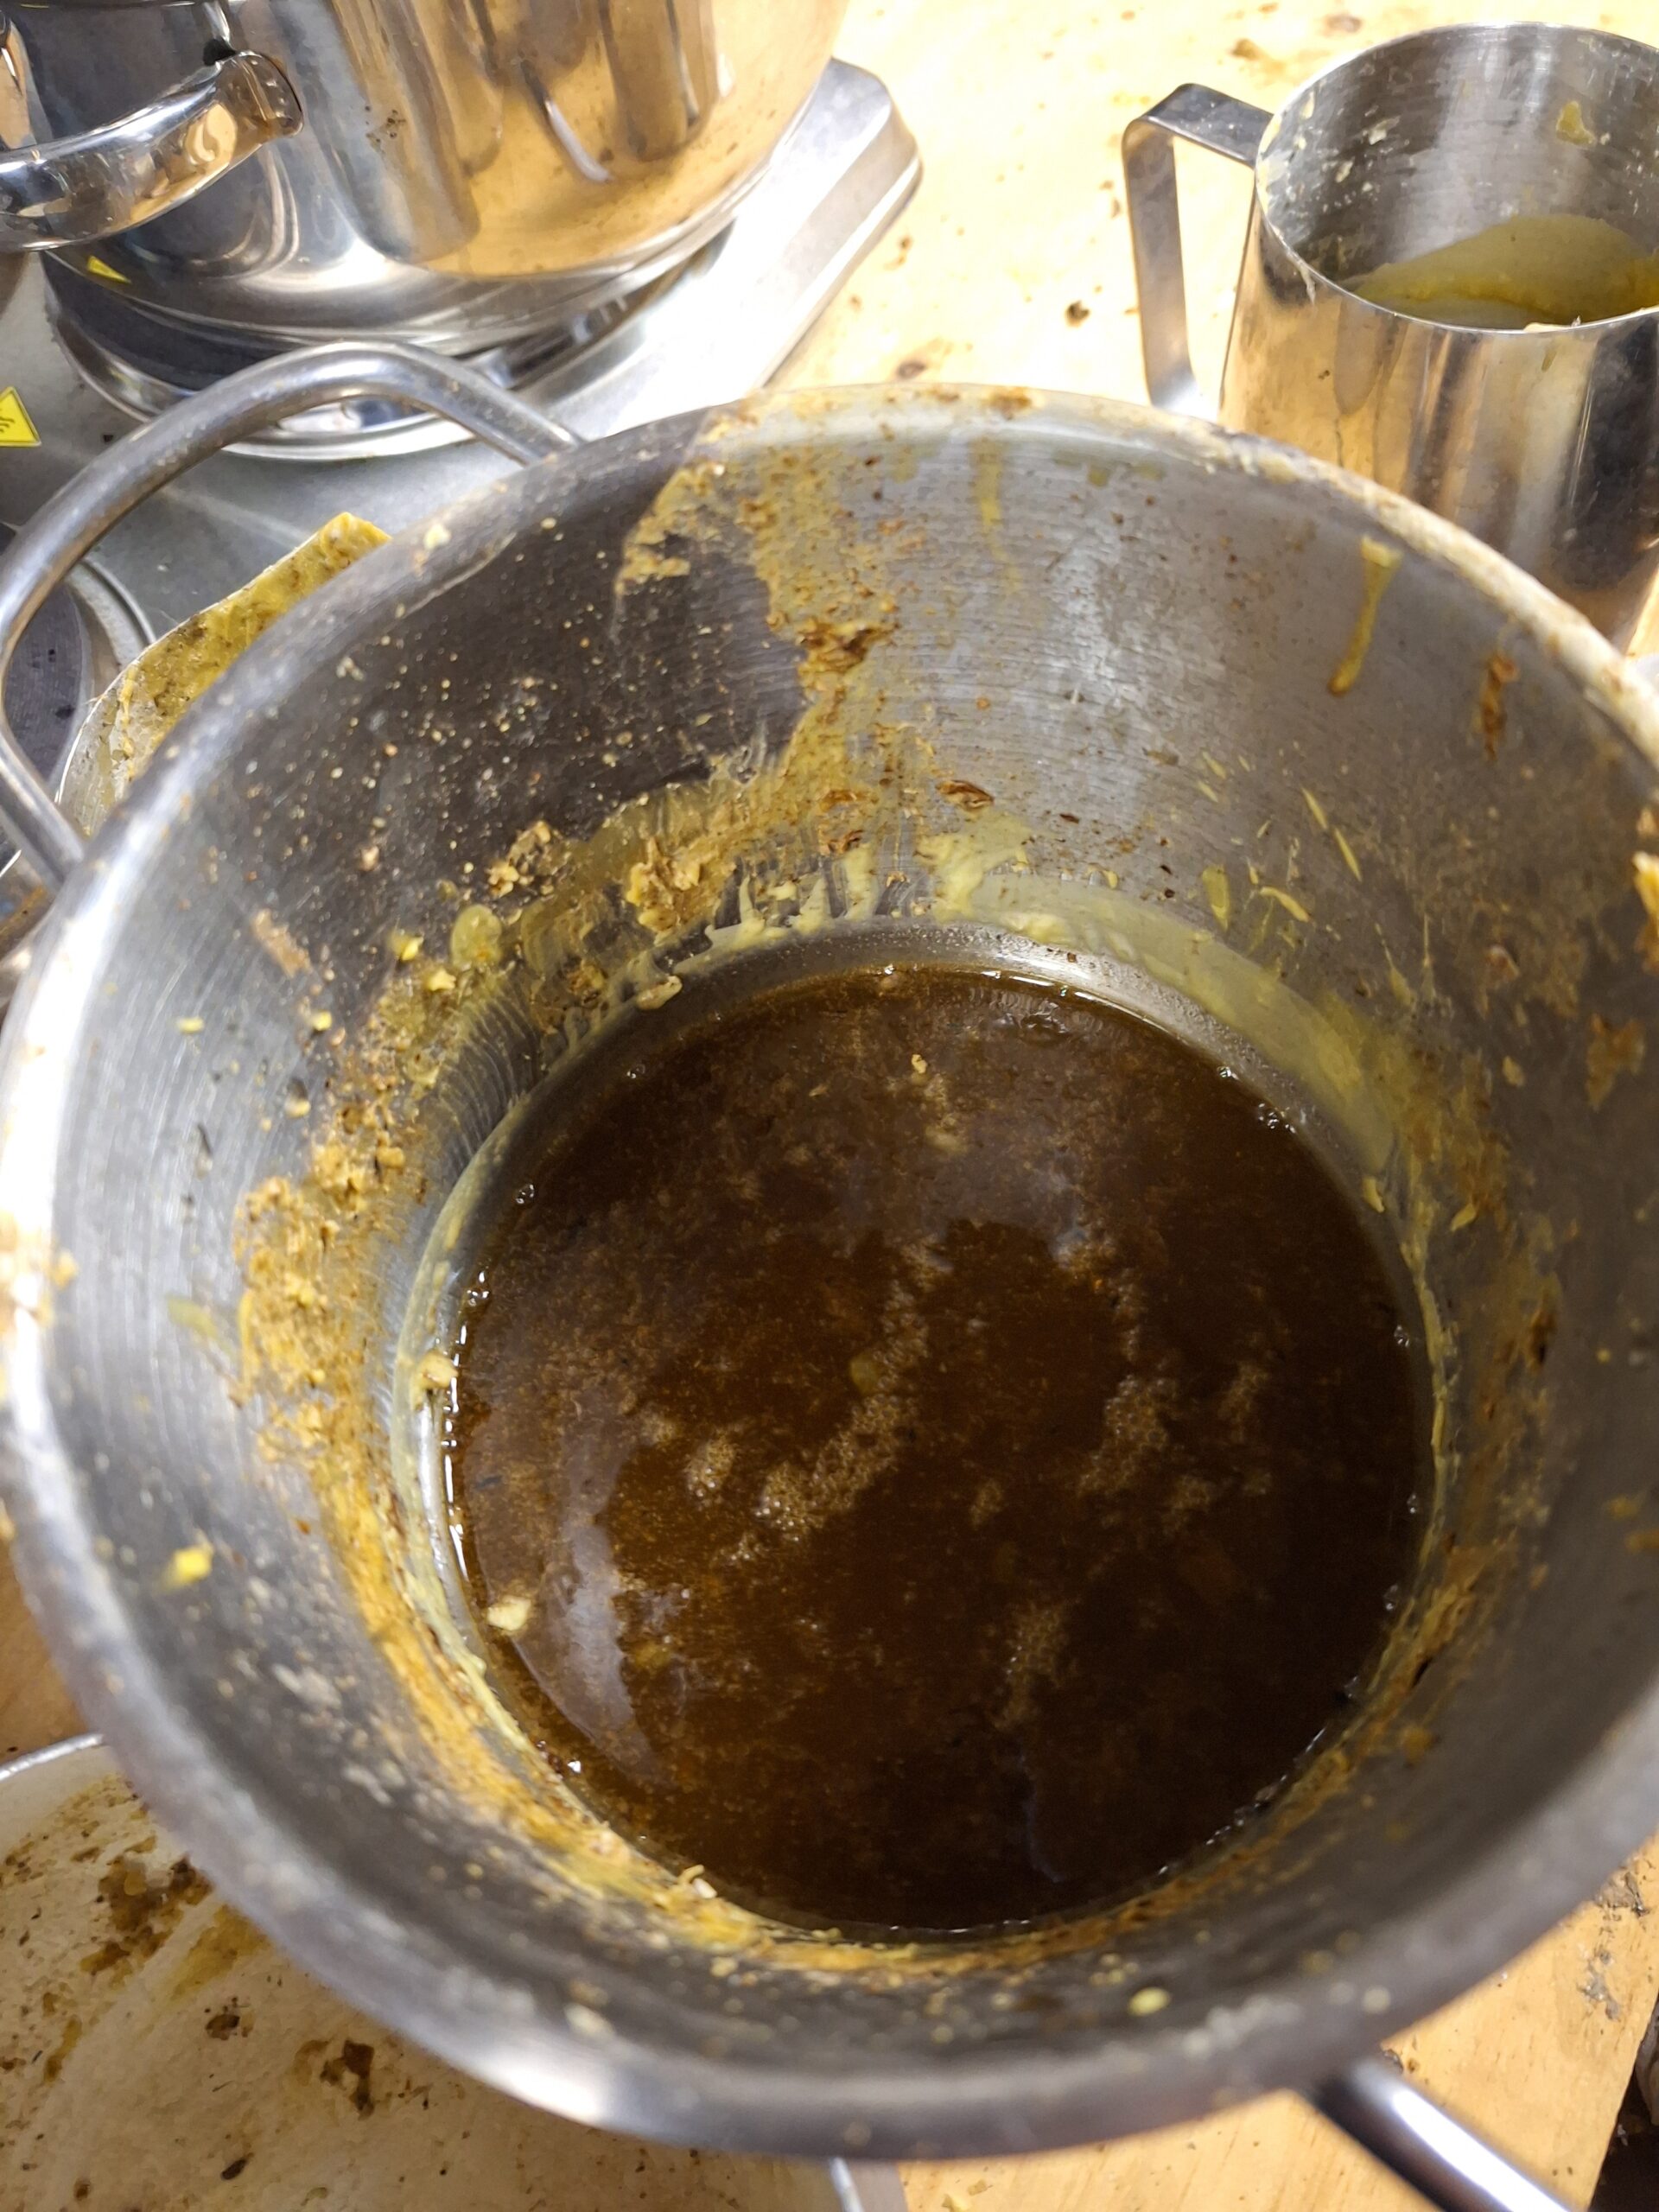
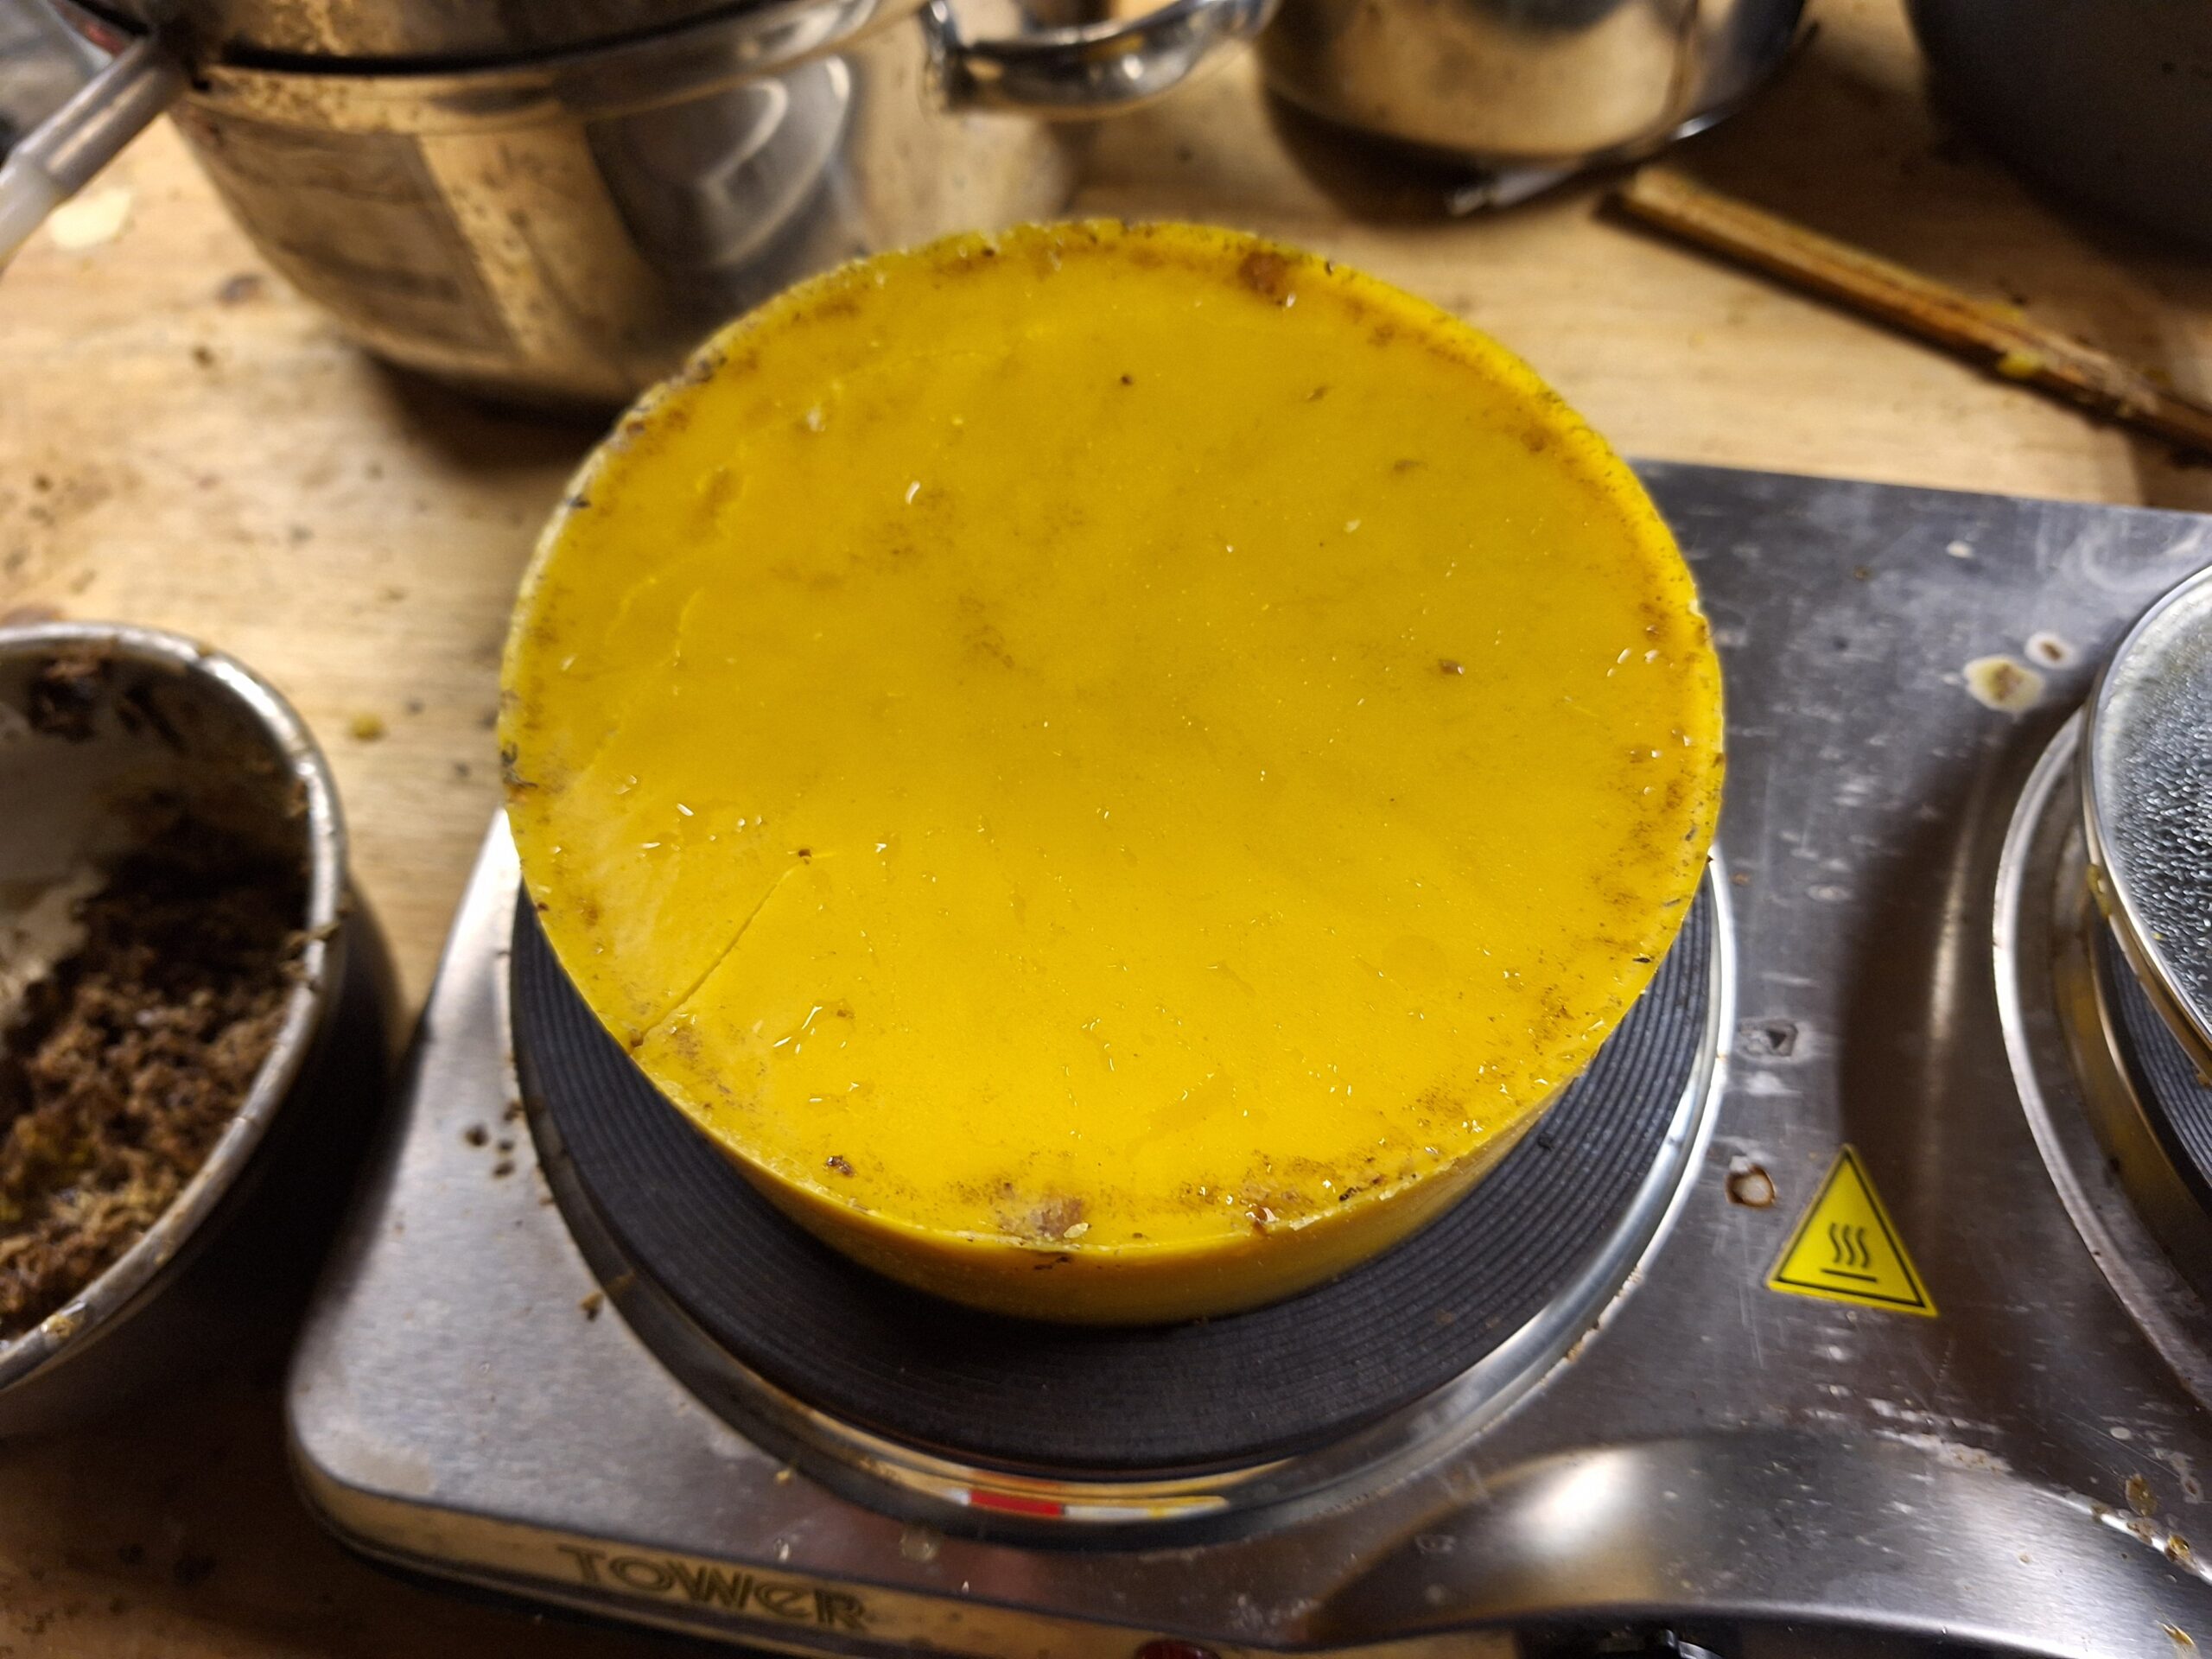
Once cooled the wax is removed from the brown water and put into a spaghetti saucepan. This tall thin pan with parallel edges is ideal for the second melt. About 1/4 water and 3/4 wax melt the lot stir it well, scraping the walls down into the bulk, until all lumps are gone and then immediately turn off the heat allowing to cool slowly and set over night with the lid on.
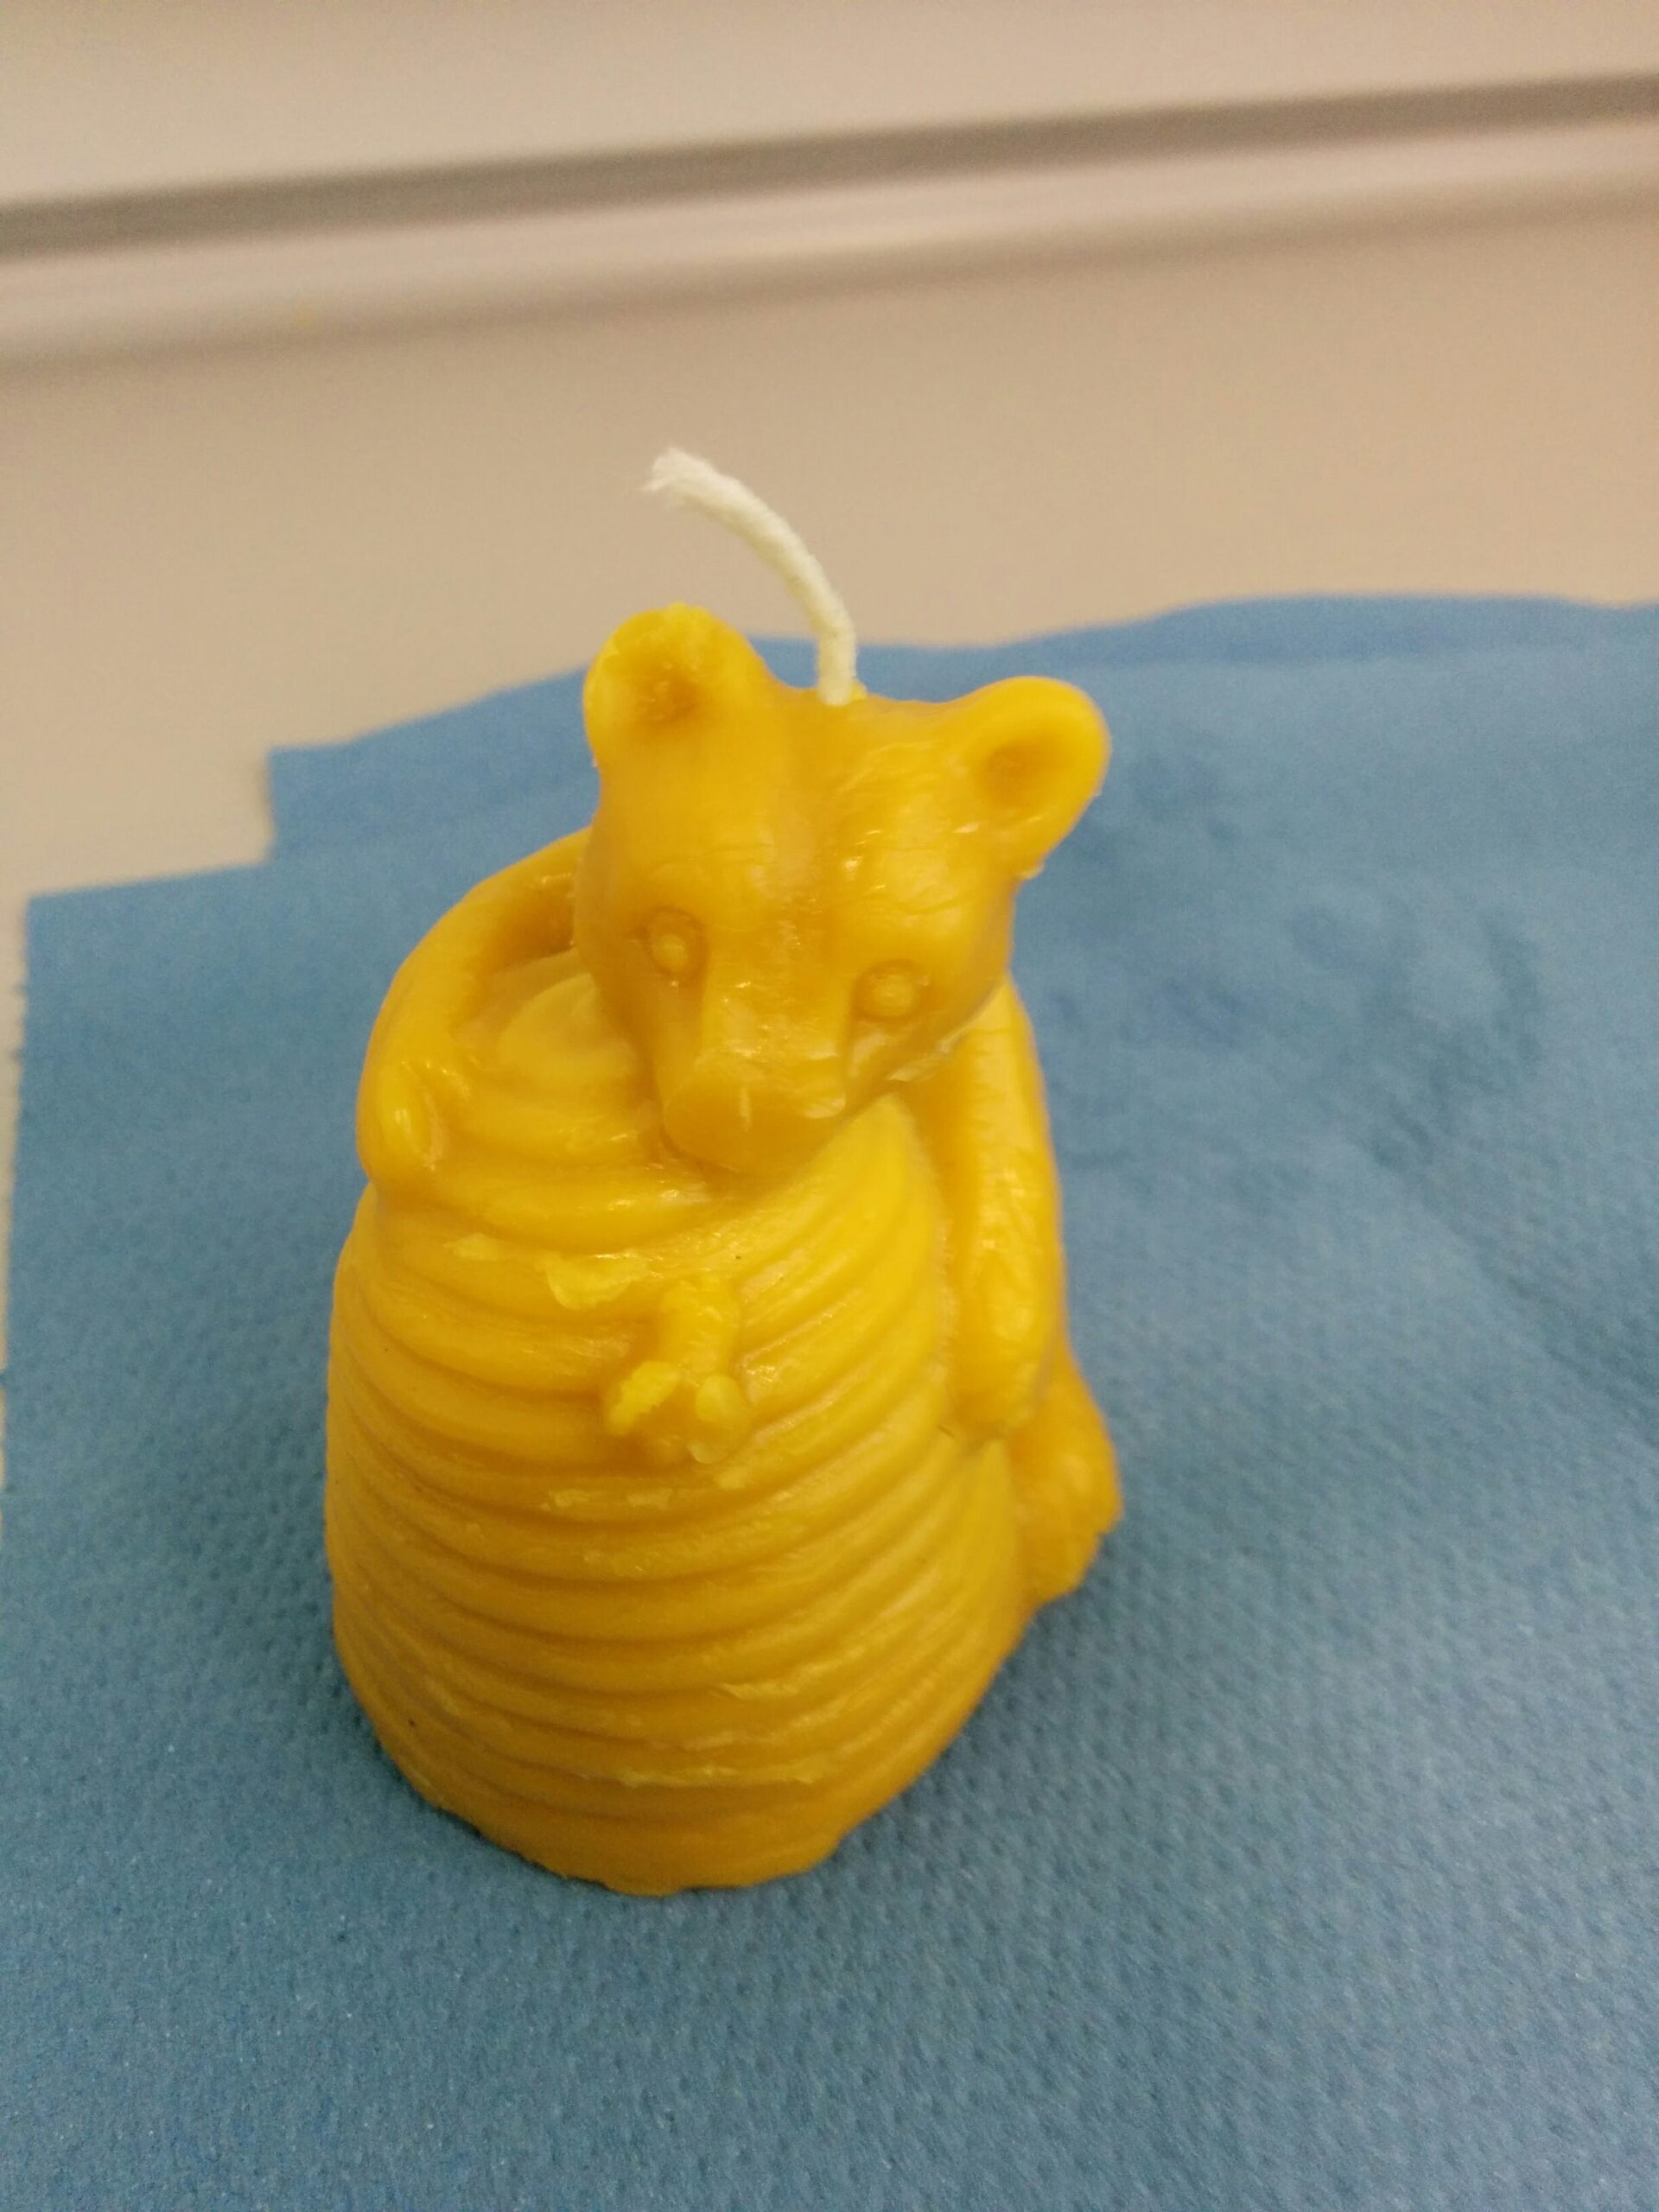
Once fully cooled the wax is removed from the water and you can now scrape the brown particles off the bottom of the wax cheese. The nice neat wax can then be cut up and used for candles or painted onto your plastic frames to encourage the bees to draw them out and use them. I like to store my was as cheeses and then melt them in the stainless steel jug and fill a large ice rack or the 1 Oz block maker.
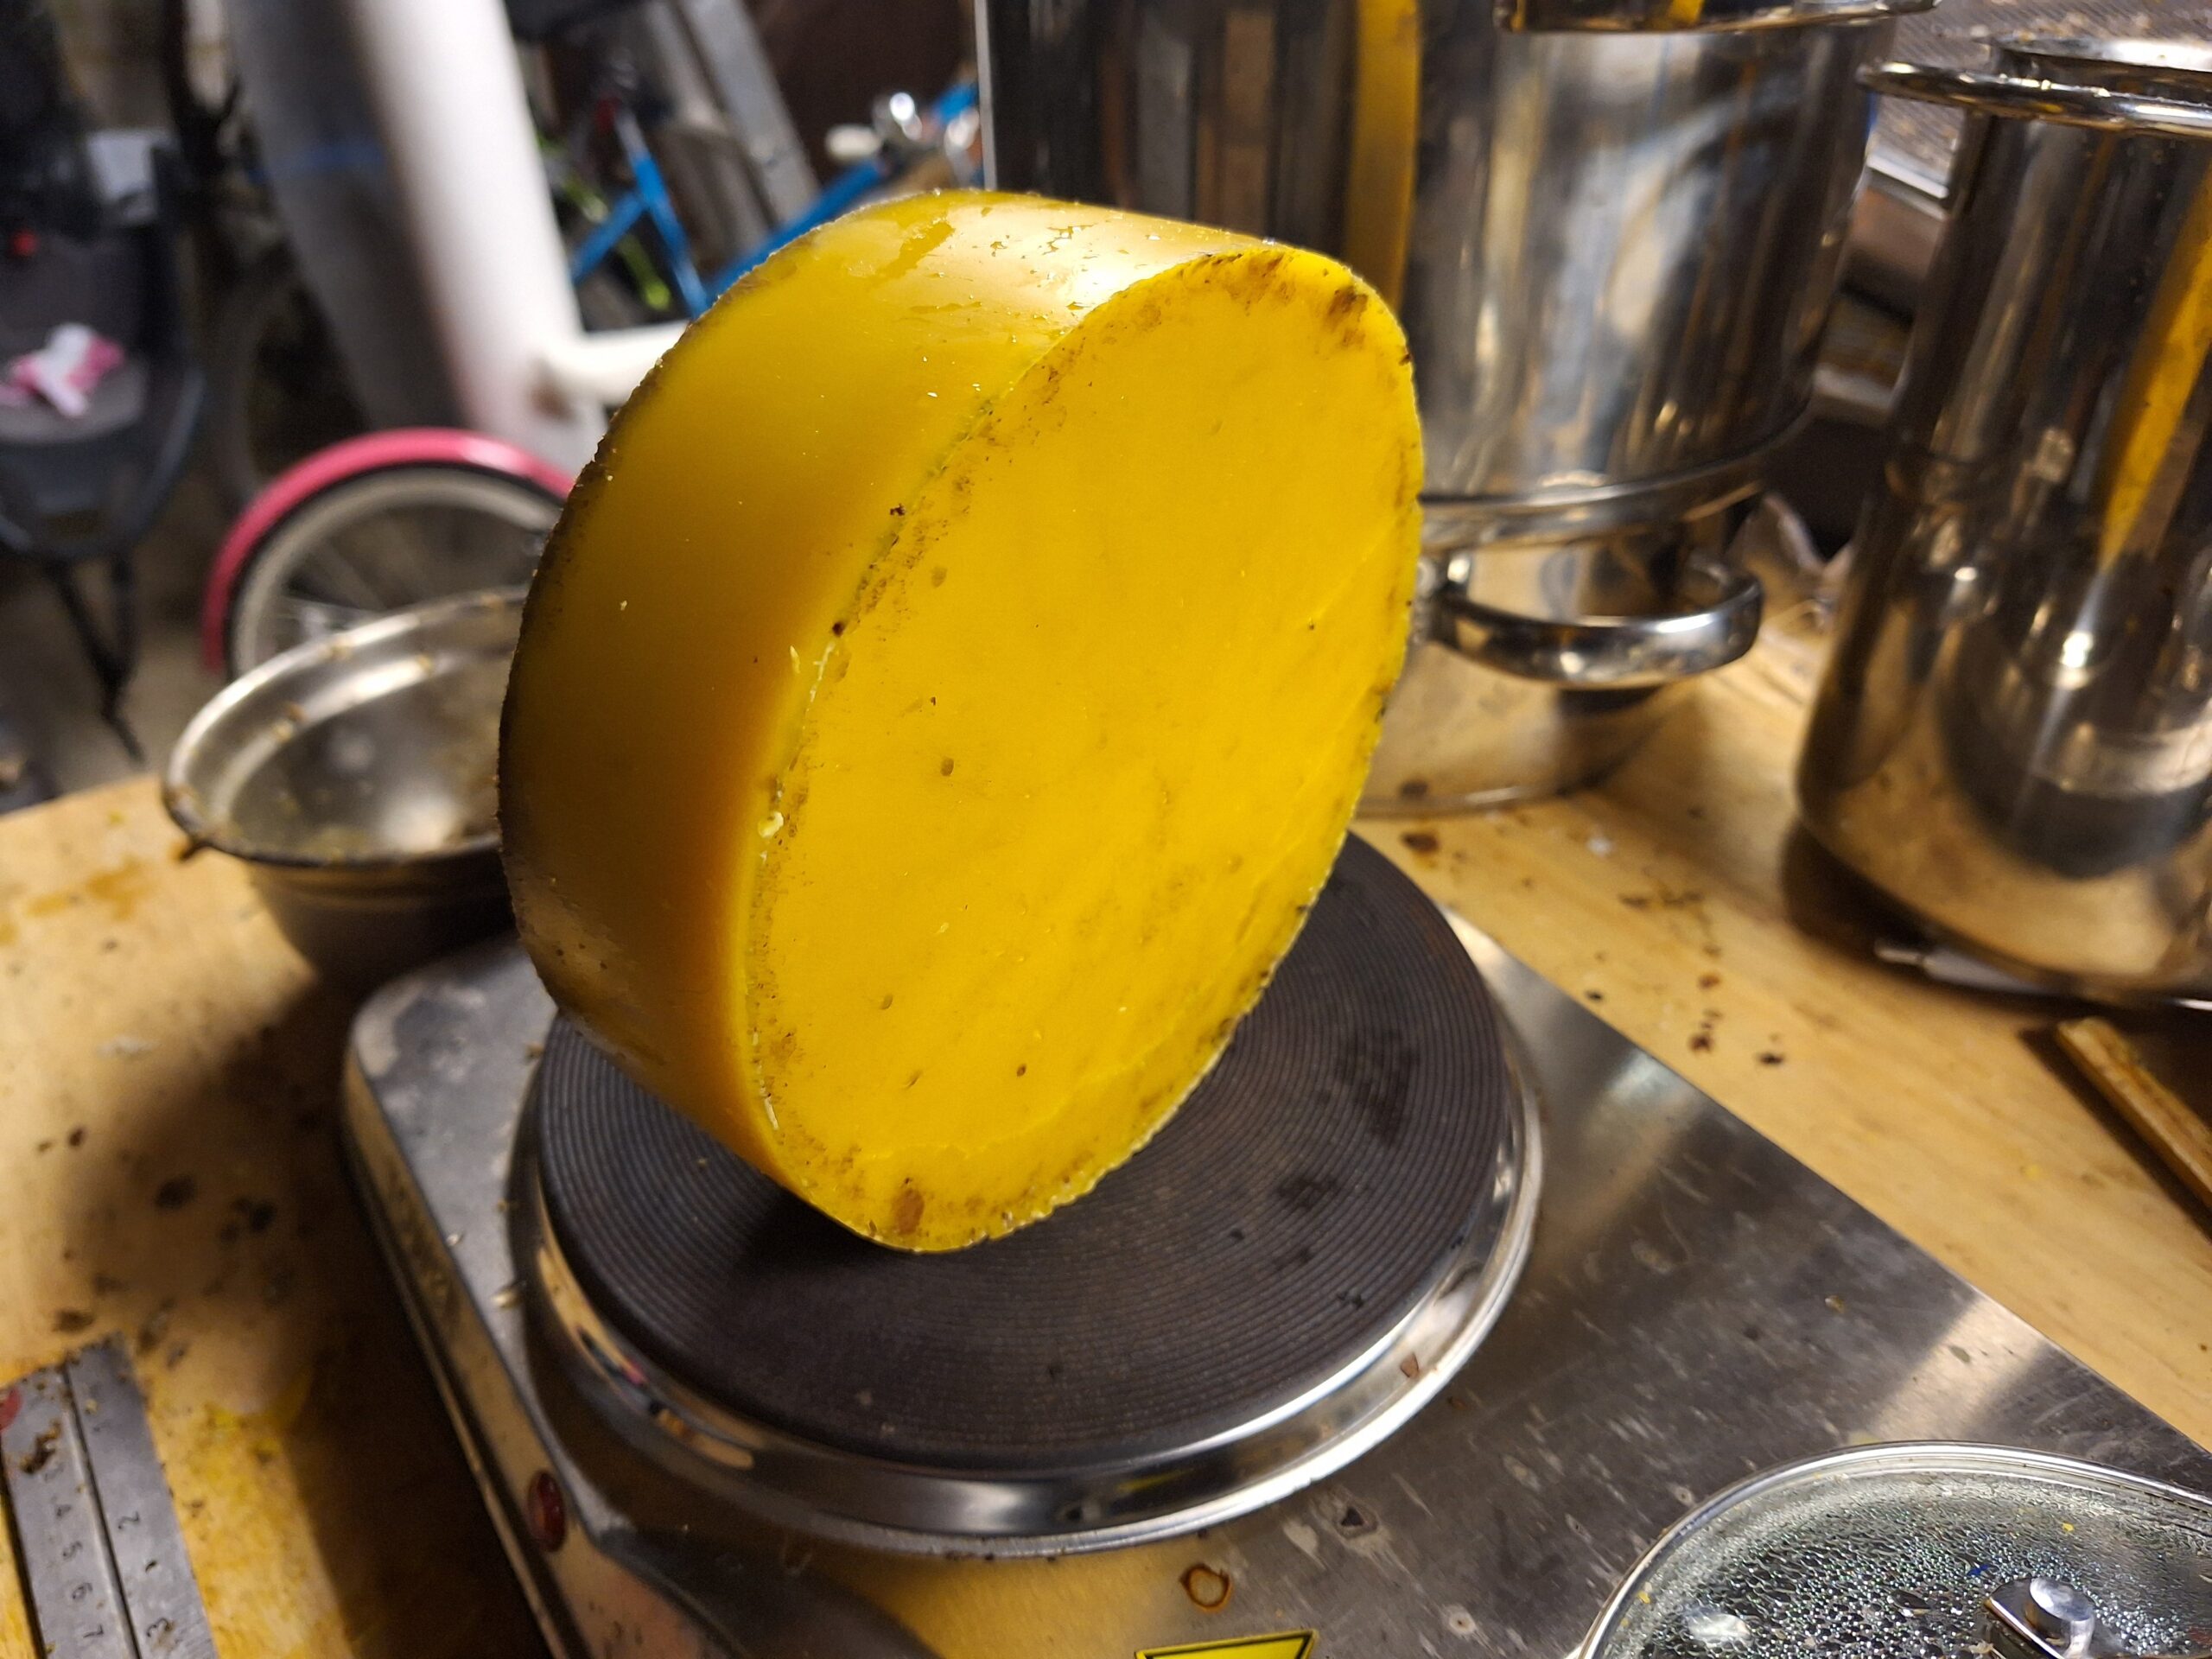
Final Melt and Pour
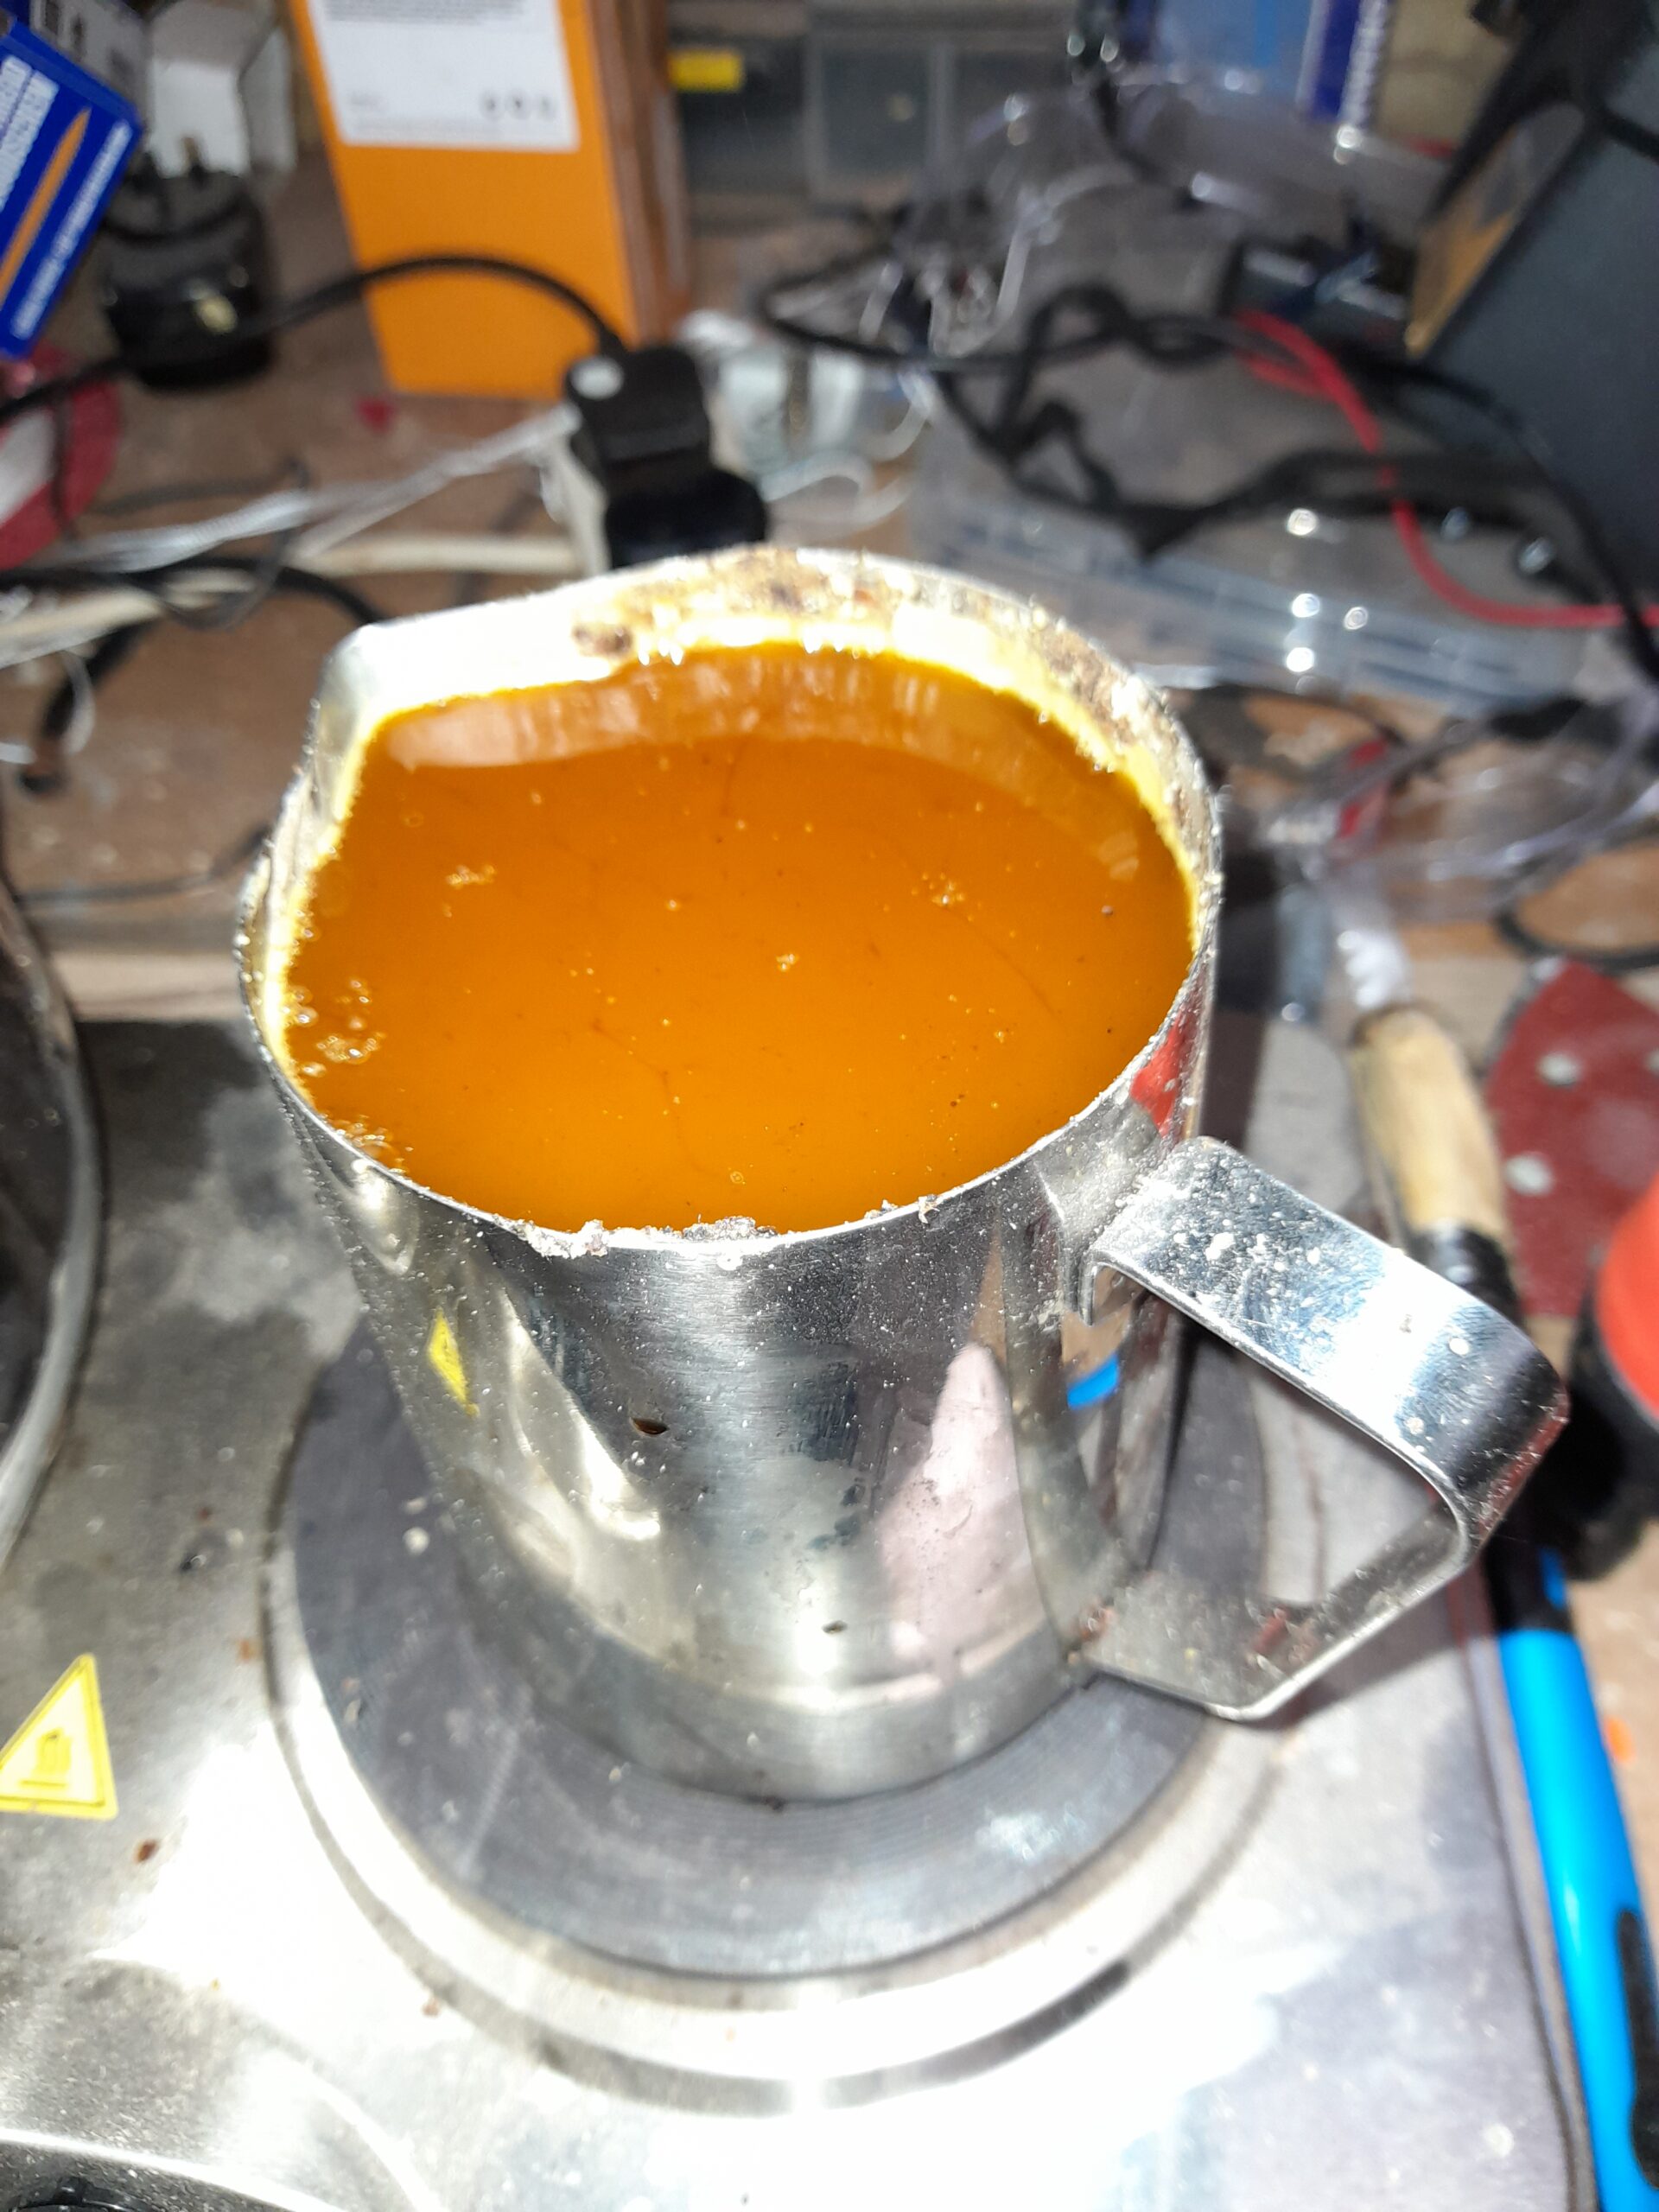
The large cheese can be cut up and remelted in a stainless steel jug to be poured into moulds.
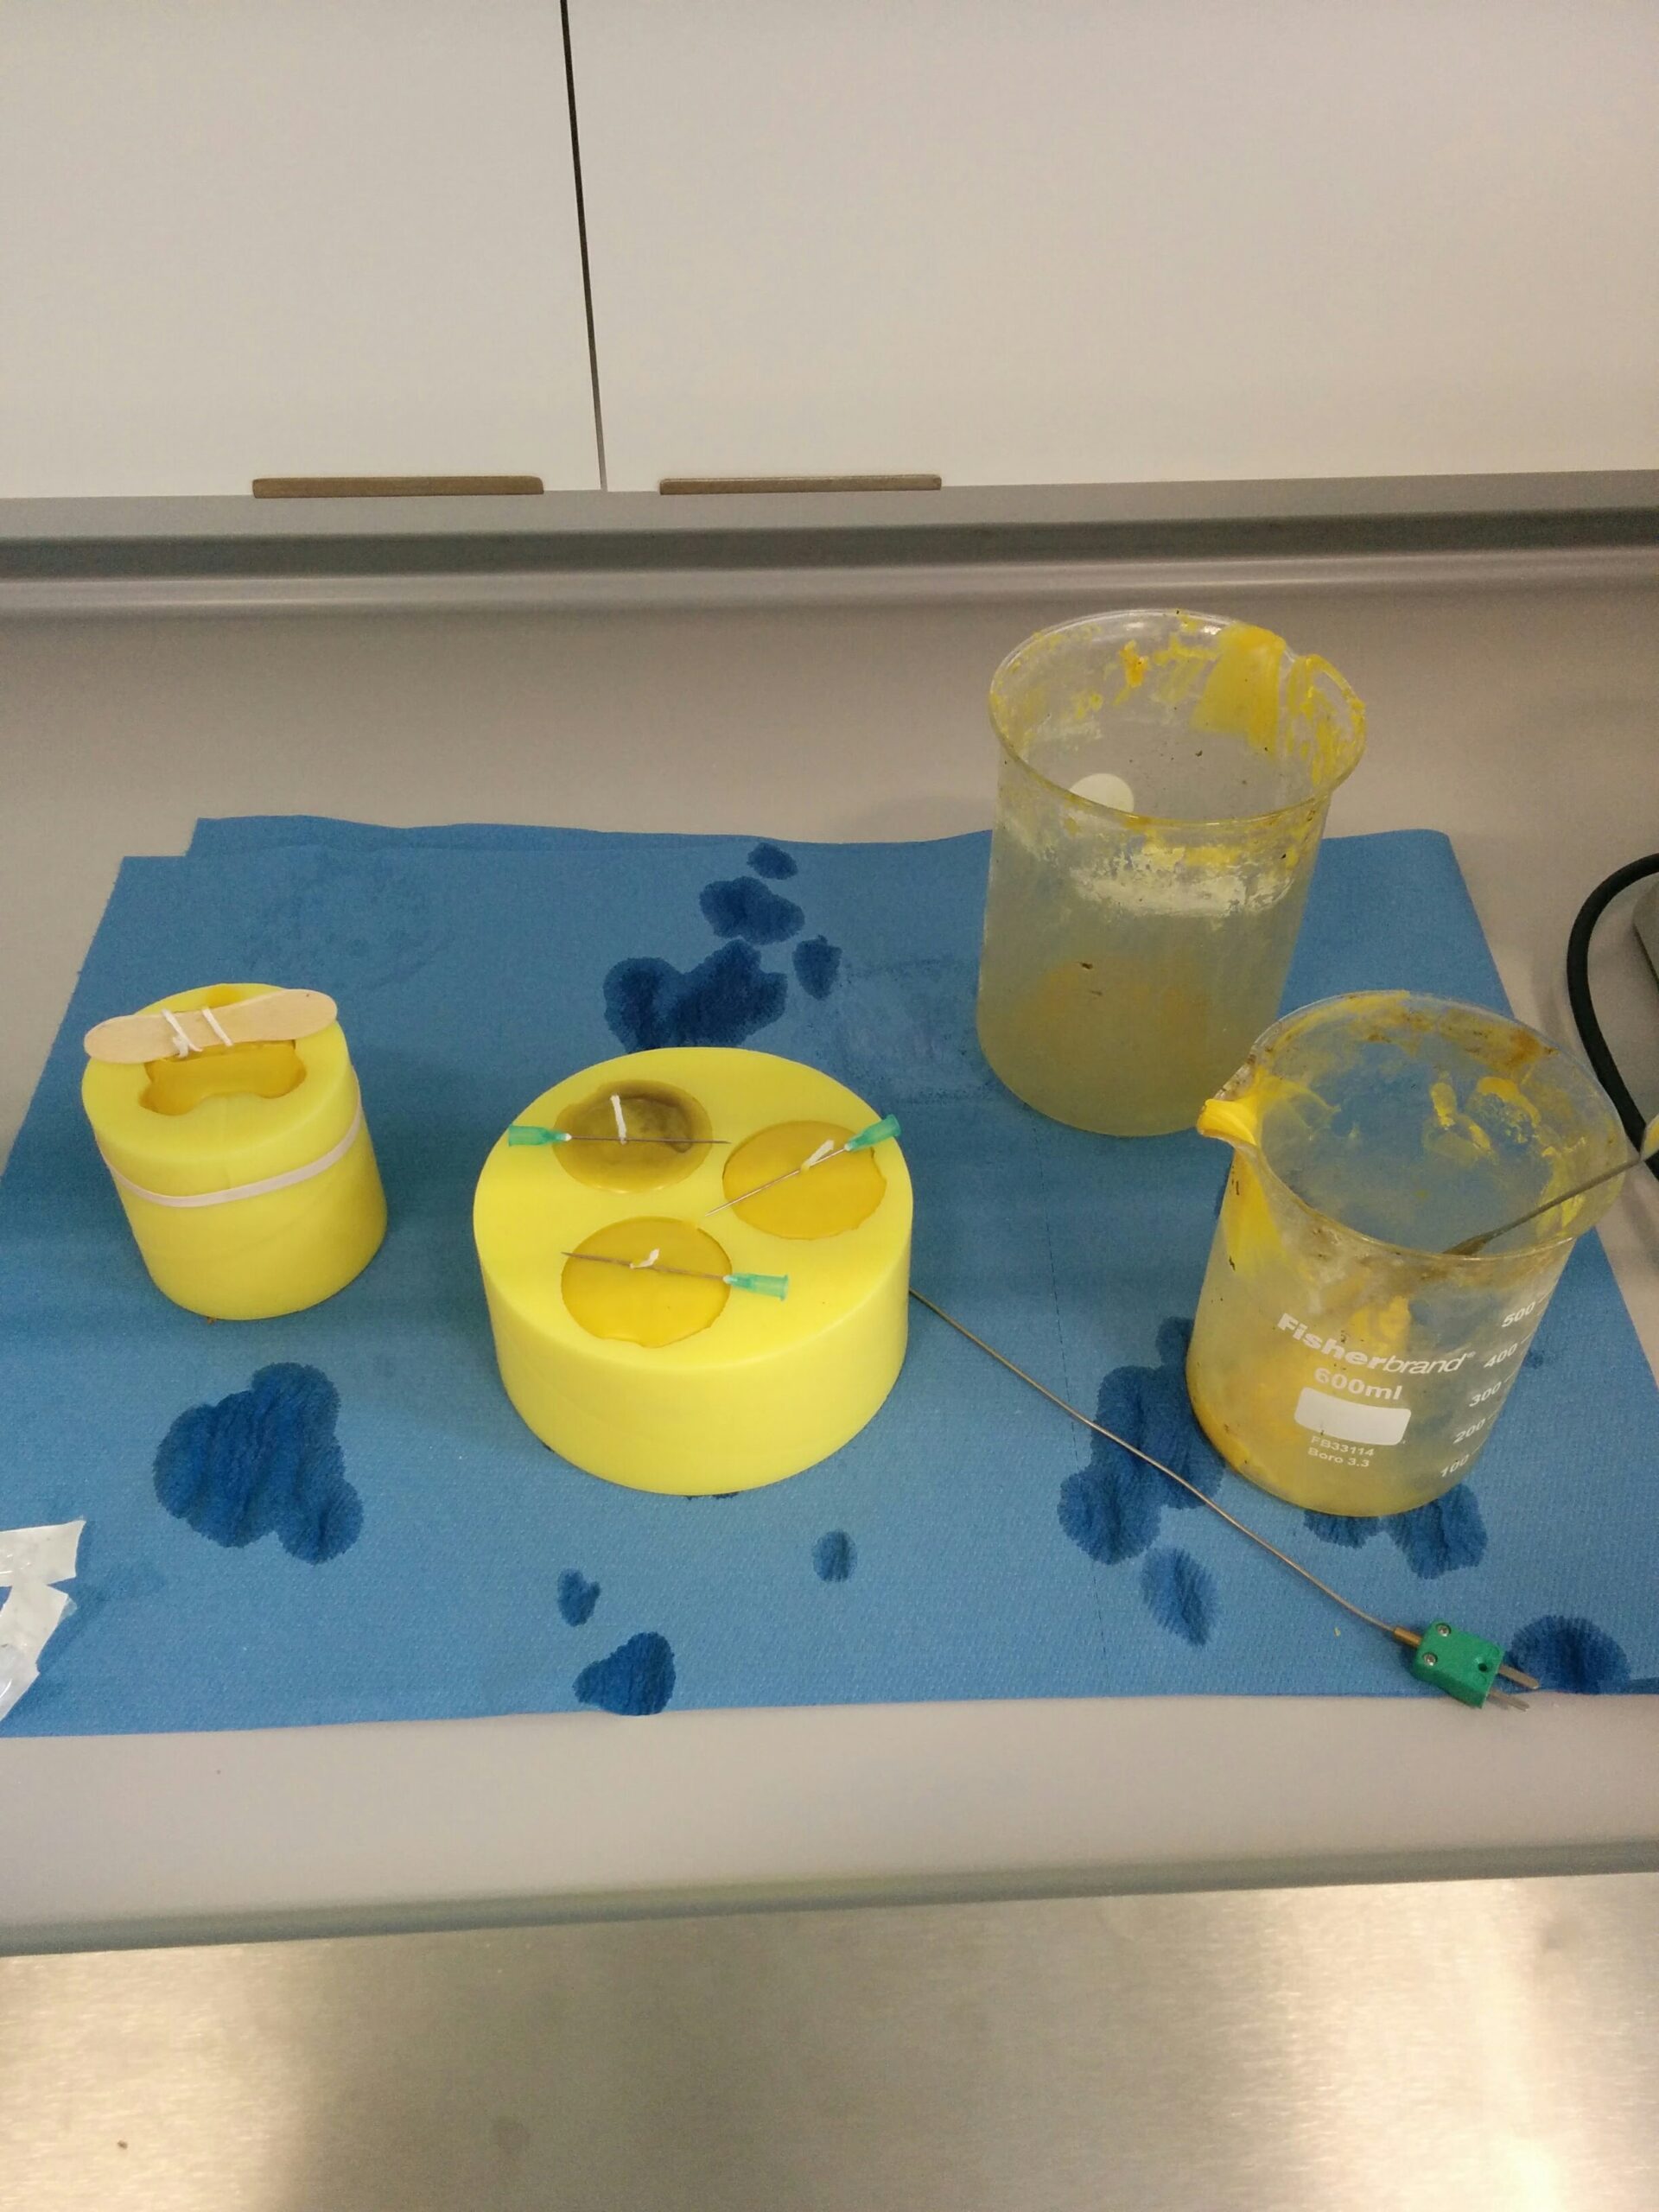
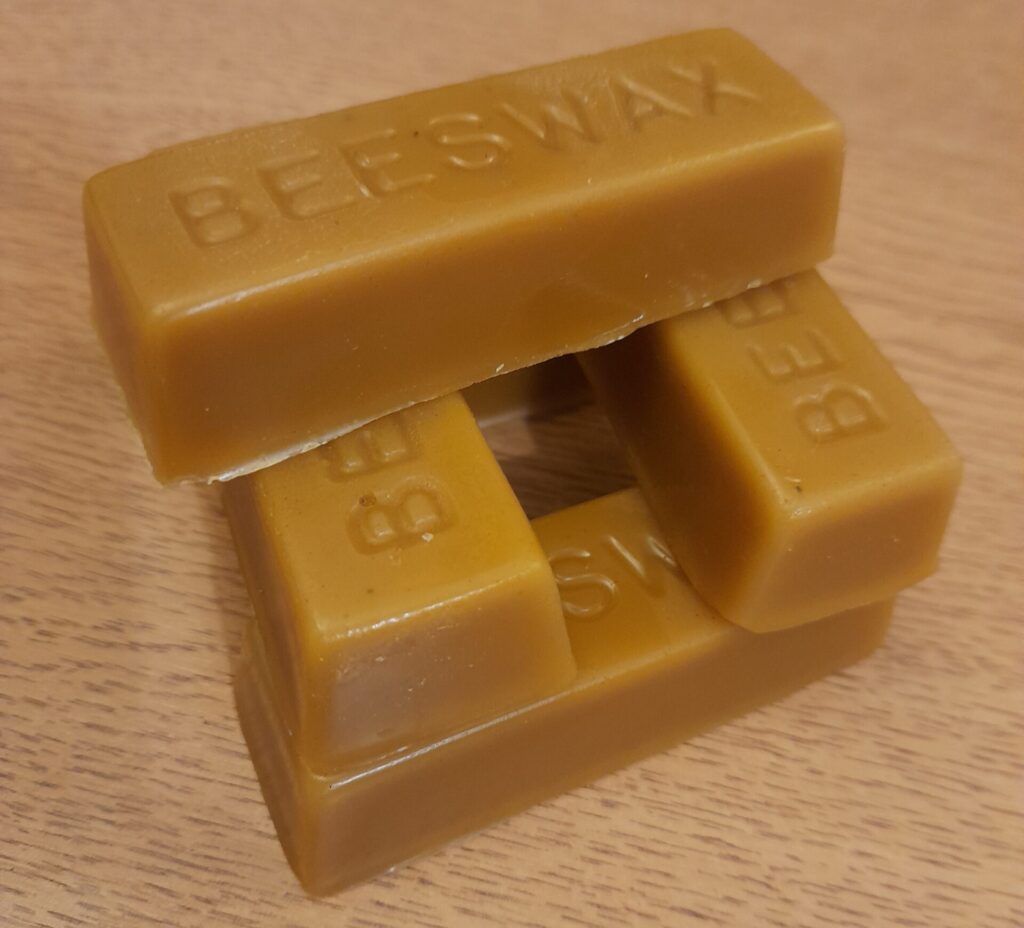
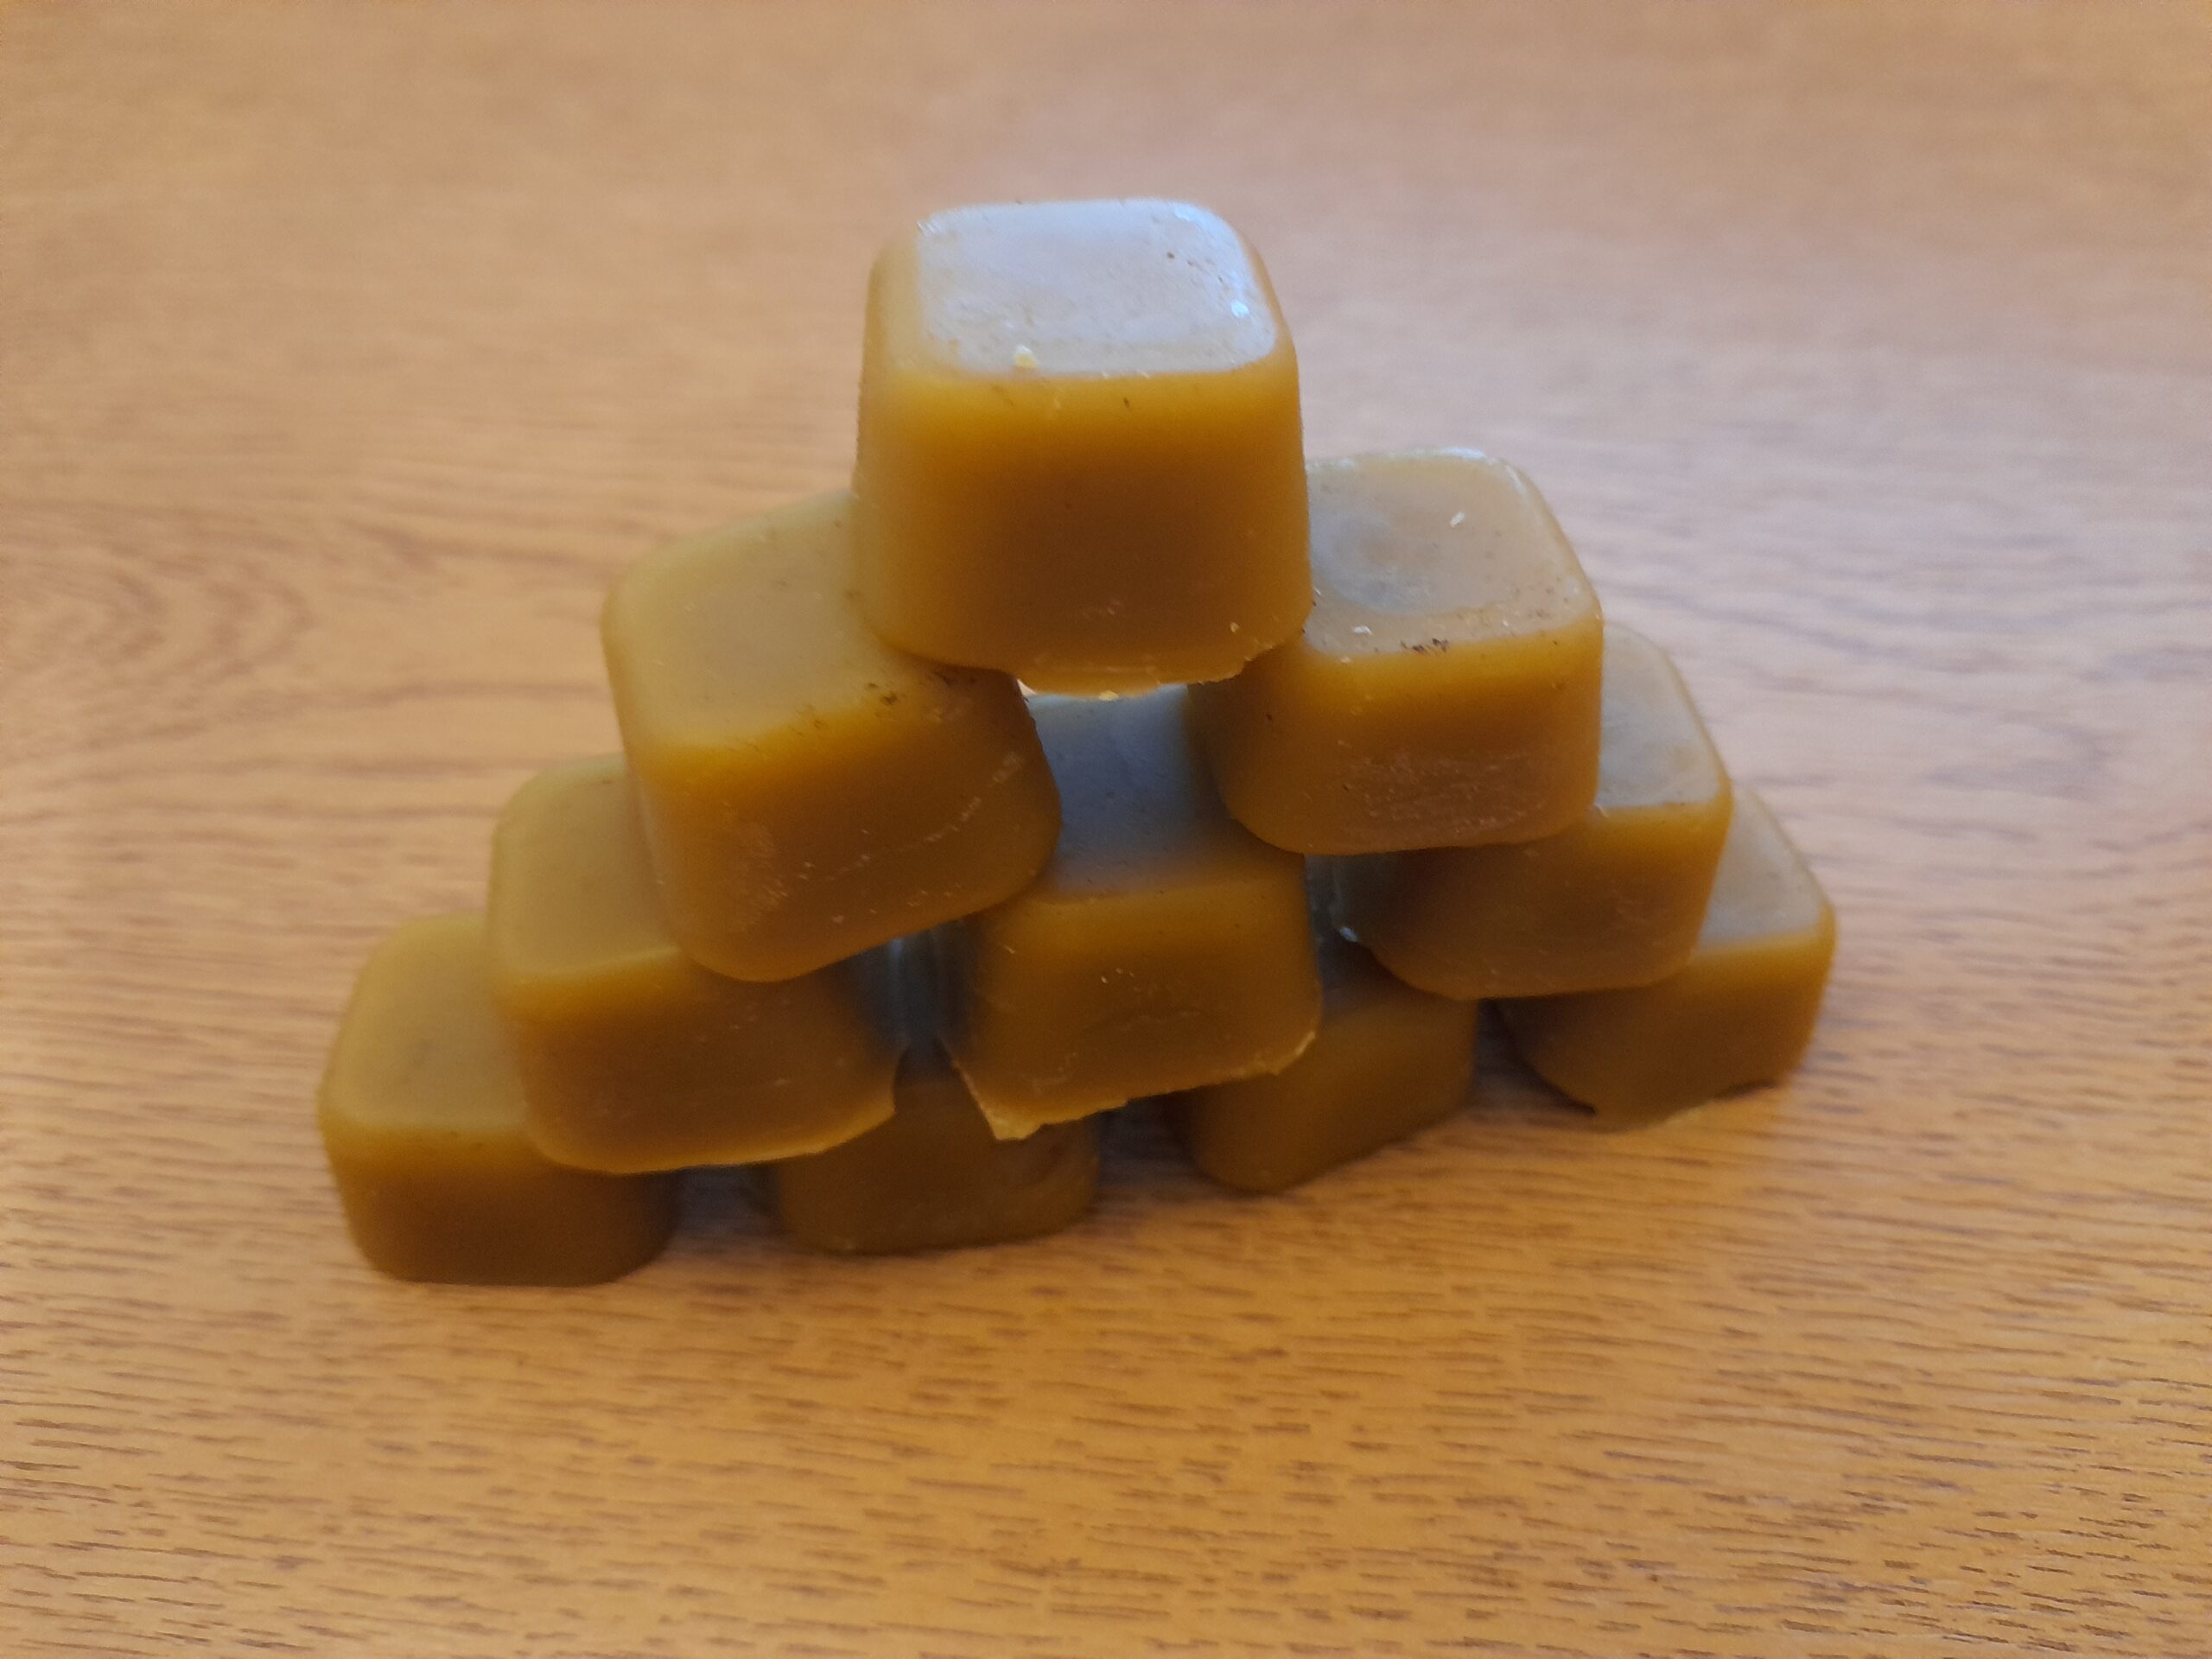
I use an ice cube silicone tray and a 1 Oz Wax block maker. The result is easily stored and easy used blocks of wax to both use and sell.
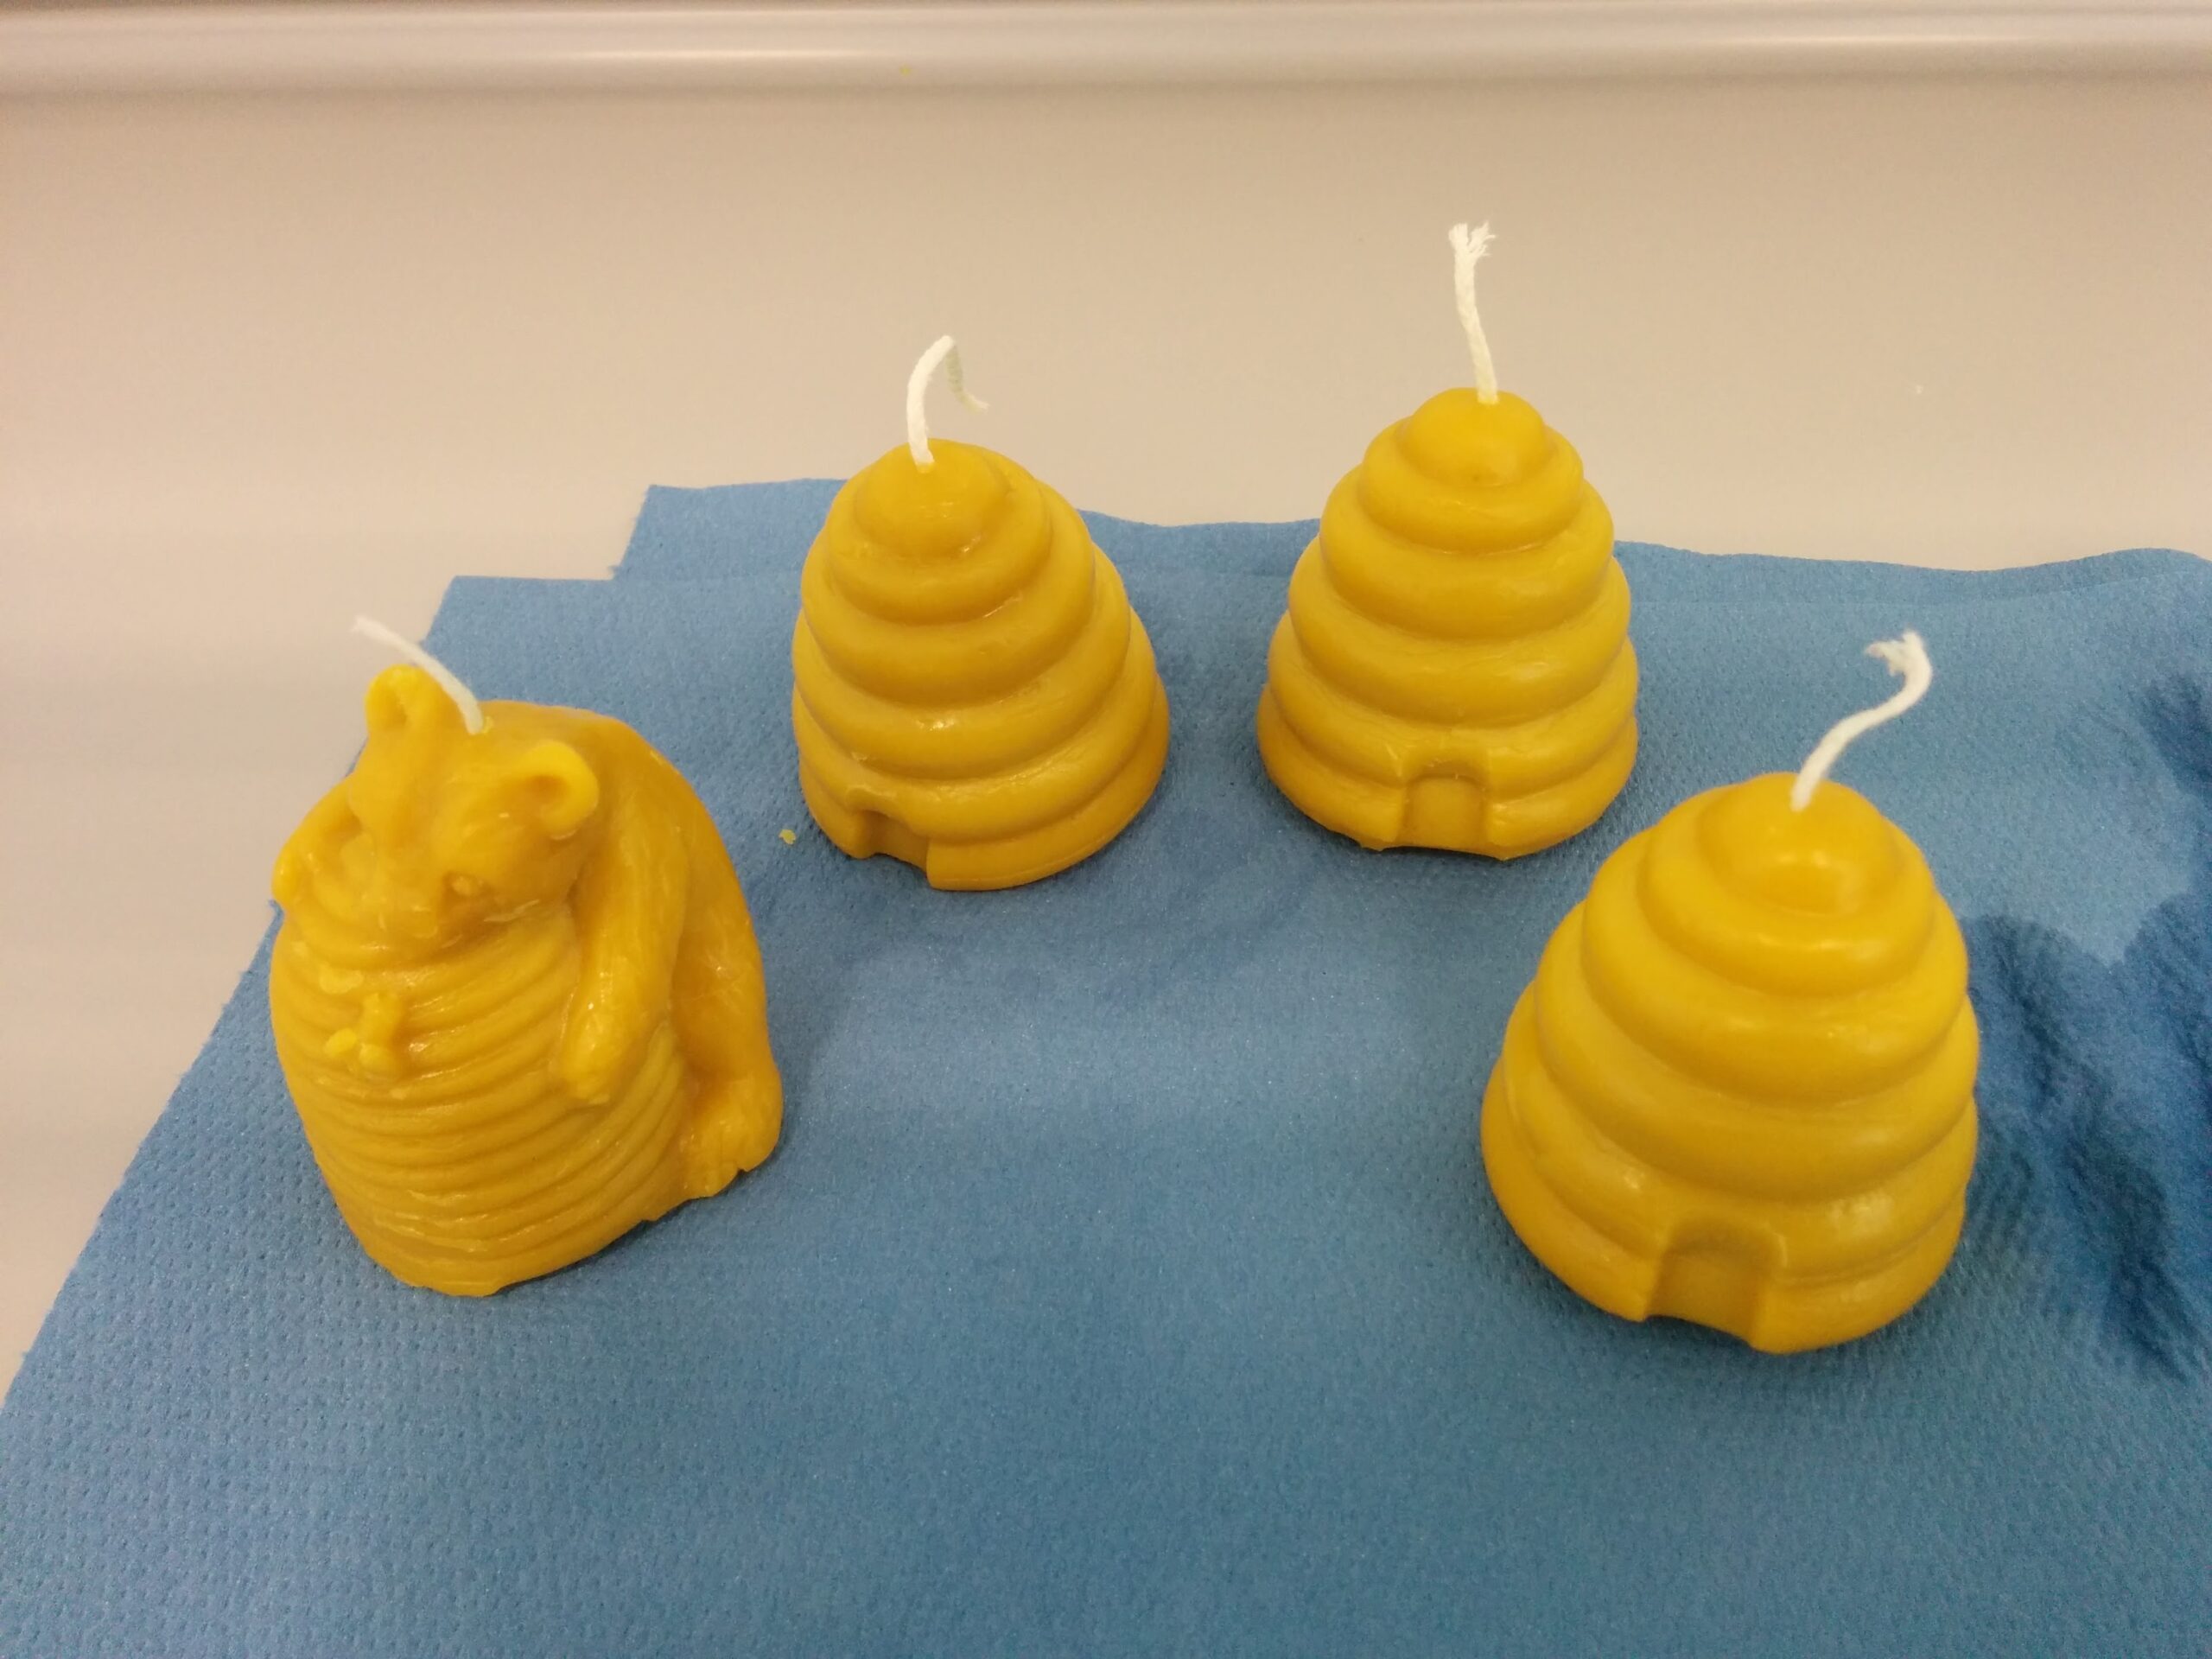
Step 4 End Product(s)

- DO NOT allow any wax to go down your drains. It will cause blockages like you have never dreamt of and be impossible to remove.
- Dedicated wax work set-up. Once a pot or pan or anything has touched wax it becomes a wax tool and goes in the box for wax tools. They are impossible to clean. Have one set of “stuff” for wax work and always use them for wax.
- Don’t over heat your wax. When there is solid wax in the pot the temperature is stable at about 65 to 70 degrees. Once all the wax has melted this can get higher. Boiling wax is very dangerous. You can use a bowl of water between your heat source and your wax to help control the temperature.
- I use a dedicated large baking tray to catch all the mess.