OK so this is not bee related but anyone who knows me will know that I have been super excited this year about my new pond, so I thought it was worth a post…
The story begins with me having wanted a pond ever since moving to Horsham. A small bucket dug into the corner of the garden wasn’t enough and when we decided to redo the patio I had the perfect opportunity.
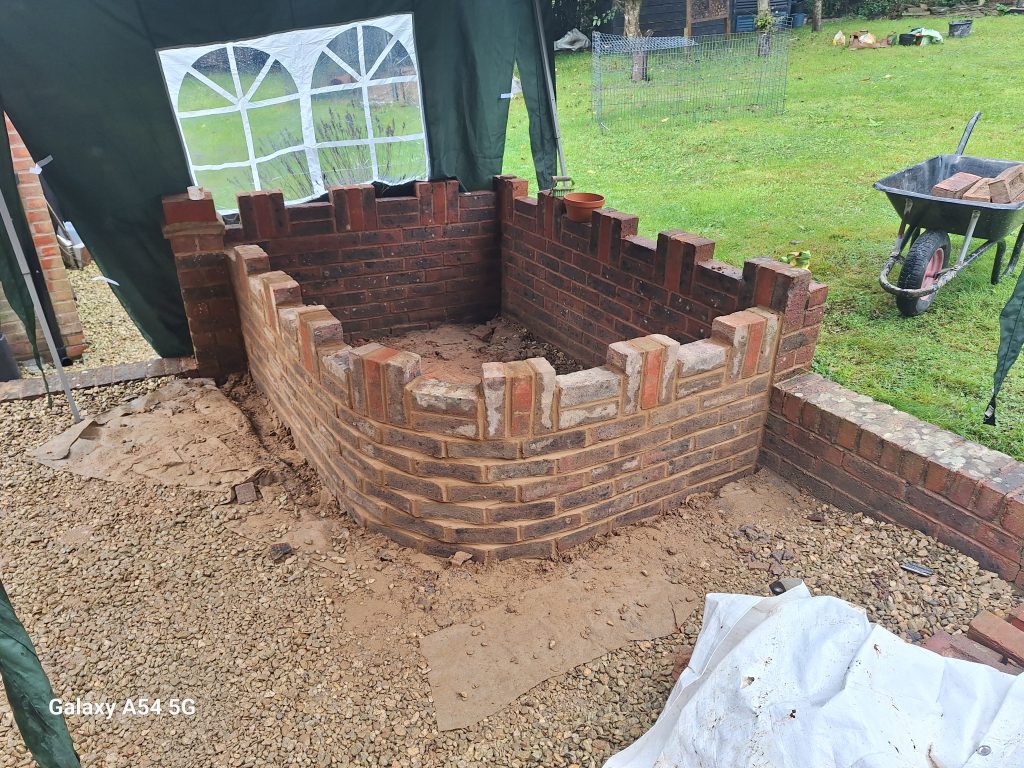
We decided to have a raised pond as there was less chance of the kids falling into it and drowning. First step was to decide the location and to clear the ground. I have to admit that while my brick work skills are pretty “good” they are no where near that required for this job so our friendly local builder came to the rescue. we also had some bricks form our neighbour who had built the wall in the first place so the bricks matched. Addition of the concrete base and I was ready to paint to water proof layer on.
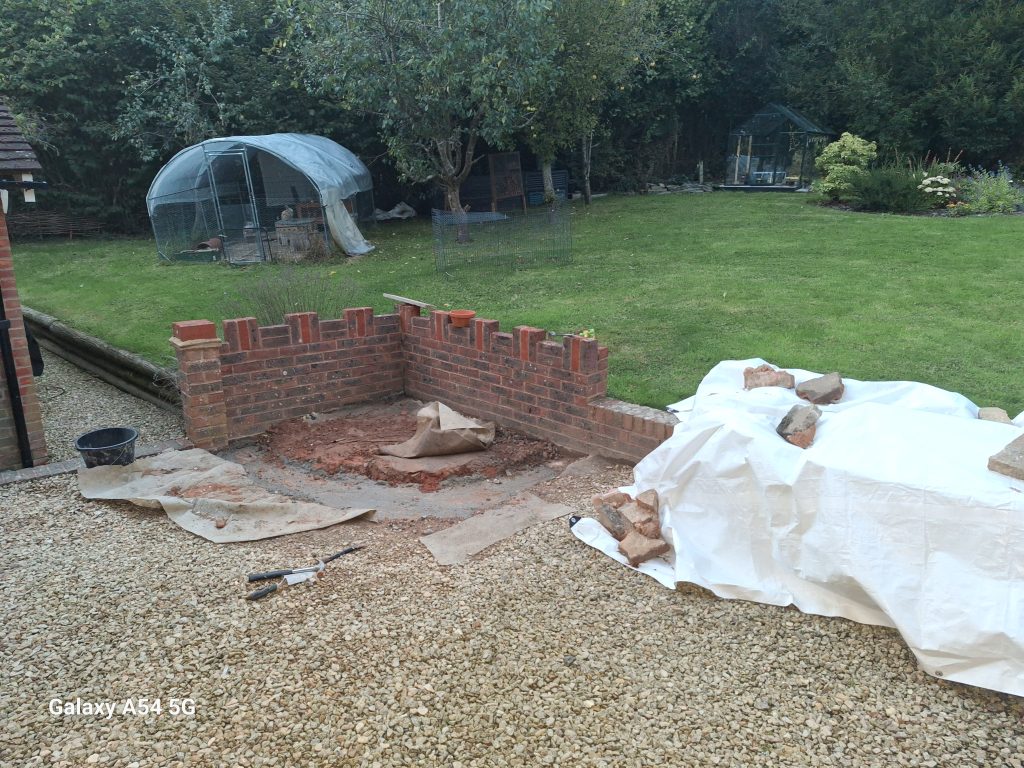
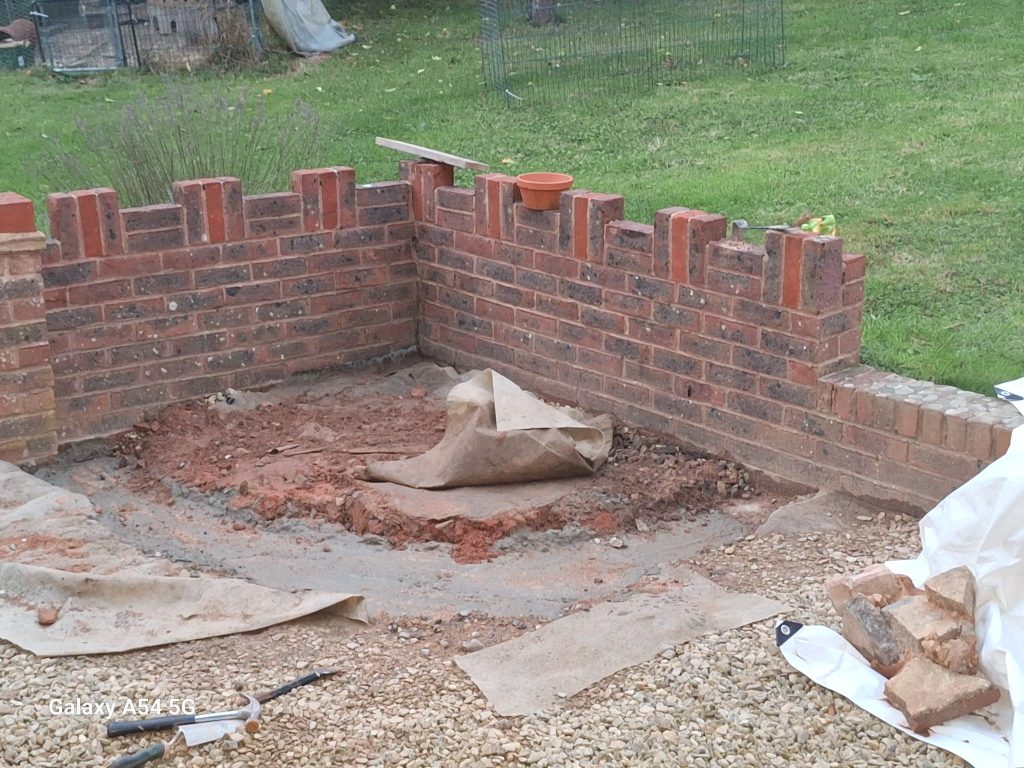
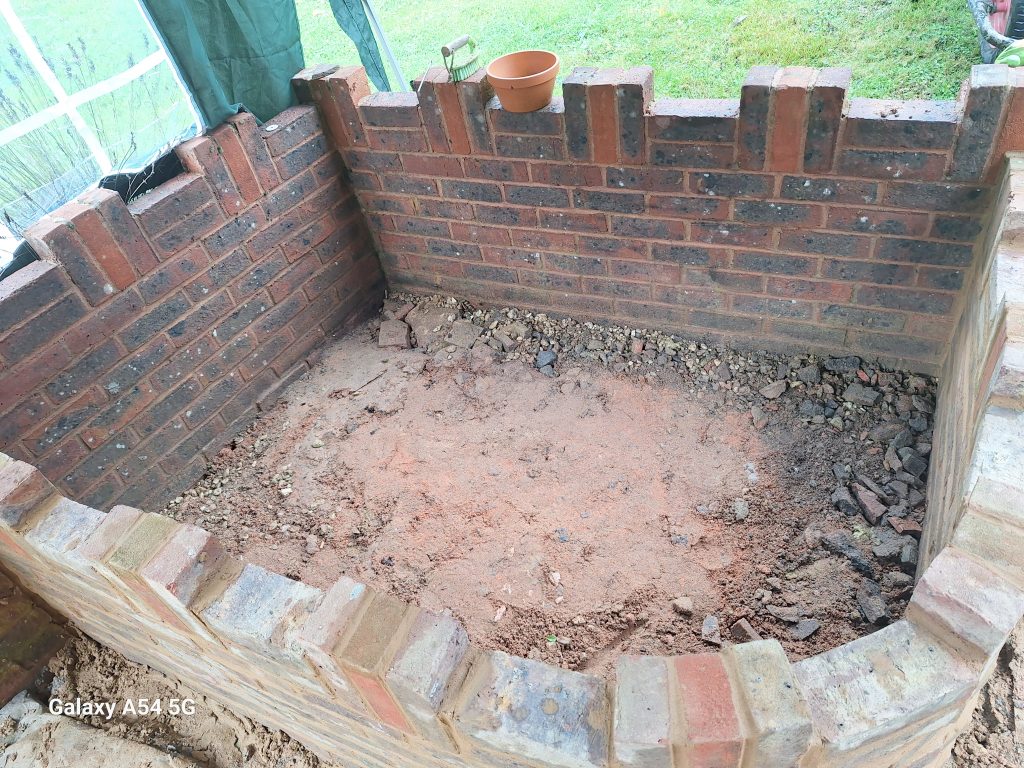
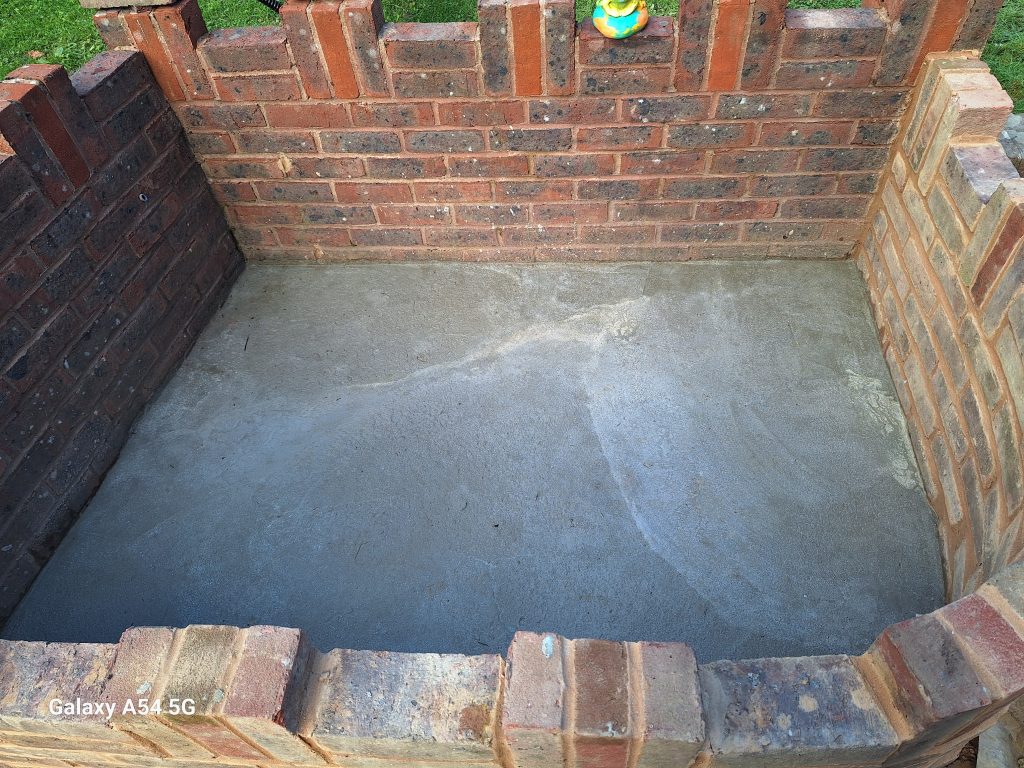
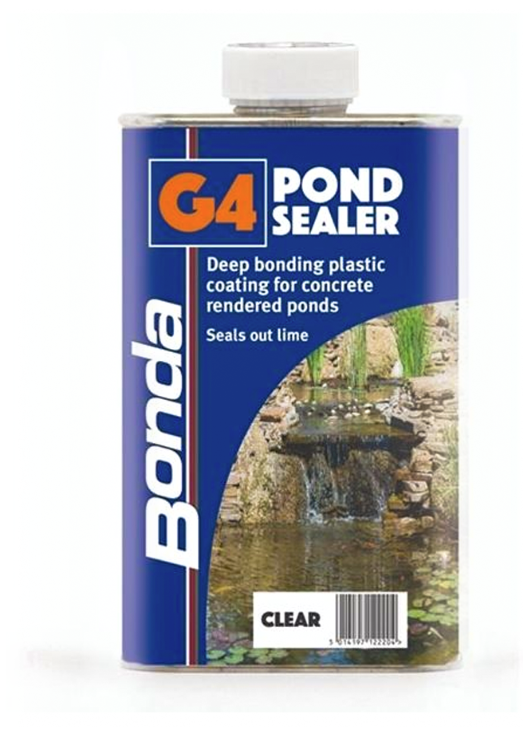
After lots of research I decided that this was the stuff to use I managed to get 2 x 5 L tins at a reasonable price. A special G4 waterproofing layer. 3 coats and it should be perfect. Concrete went in on a Wednesday so with all my usual enthusiasm I jumped to paint it on the Saturday.,. On opening the tin however I saw the note that rendered concrete should have 3 weeks to cure before painting. That was one of the hardest 3 weeks of my life. Not only had I to wait but I had to try and keep the damn pond dry at the same time. Eventually we were ready for the paint and then 72 hours to fully cure before filling with water and boy did it rain!!
3 coats of paint, more than 1 hour apart but not more than 4 hours apart so that the first layer was no longer tacky. And we were good to go.
3 weeks later.. 3 coats of paint and I was good to go.
I had saved up about 800 Litres of rain water from the previous few weeks of rain by filling every box that I could find so it was good to go.
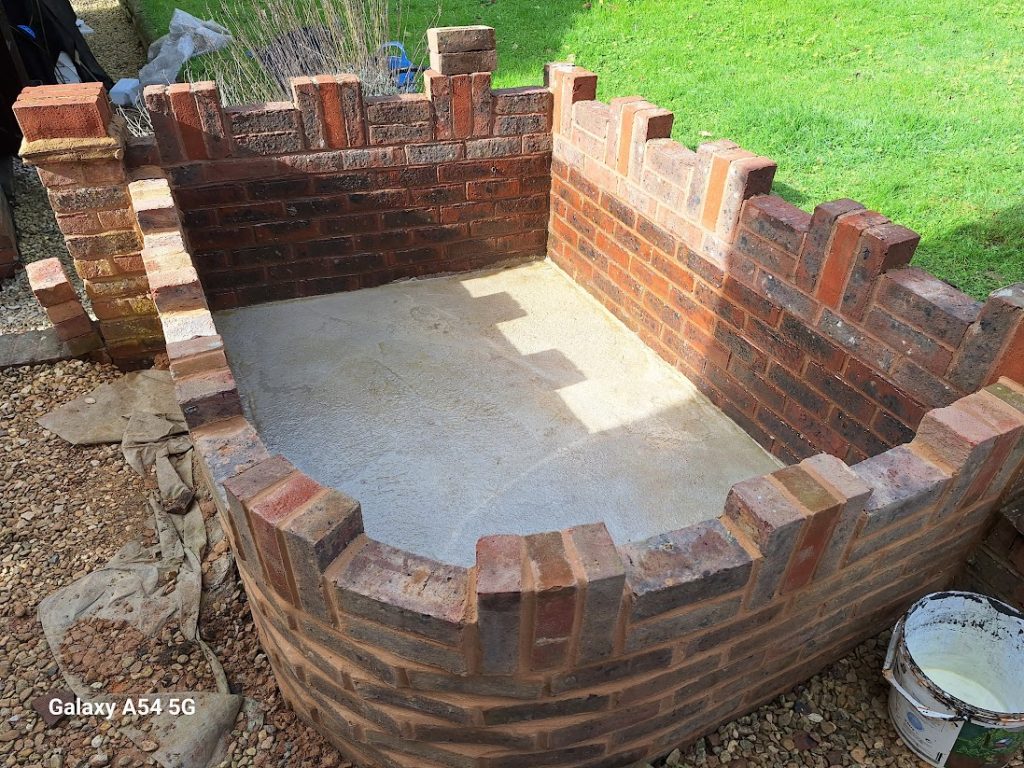
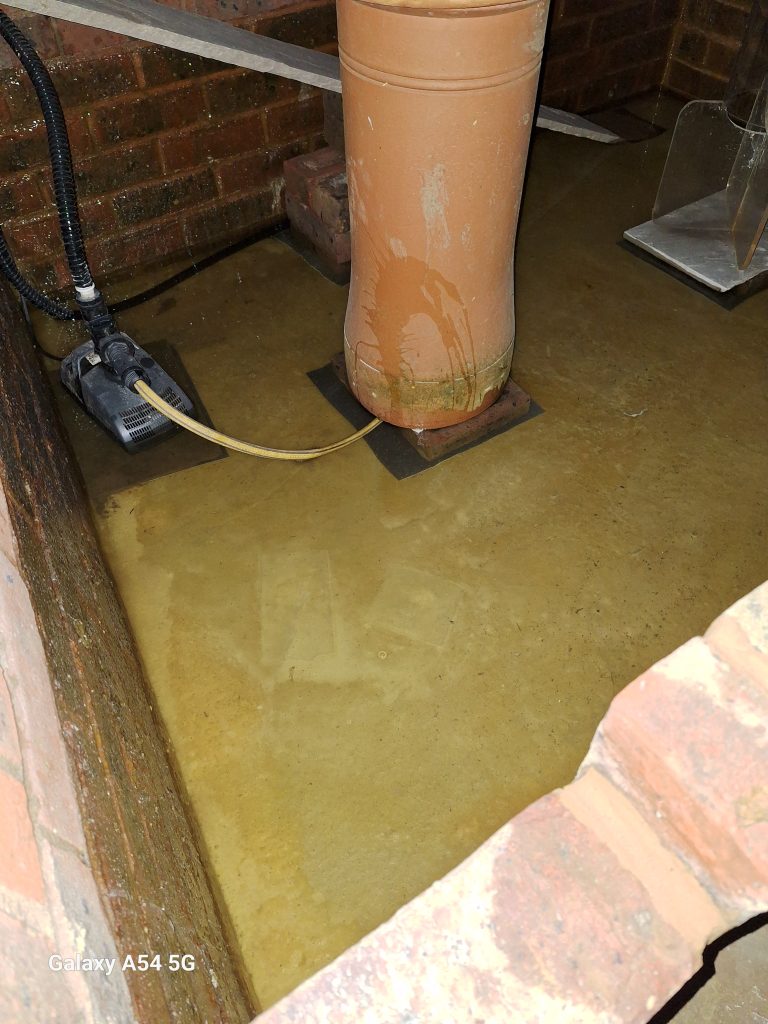
The first fill however was a bit of a disaster. Hours after filling the pond I noticed some dark patches on the wall and a few drips coming through. Disaster. The pond had sprung a leak… I was back to square 1. Empty it out and repaint the insides. Reading the tin a bit closer, it turns out that the paint doesn’t like to seal brickwork as it doesn’t deal well with the cracks in the bricks. I should have rendered the entire inside with concrete before painting. This was going to be too much fuss so I resorted to filling any crack that I could find with a pond friendly silicone and then repainting over with another 3 coats. This was quite important as I wanted to keep the brickwork on the inside for aesthetics. It also used up the end of first the tin of G4. So 5 Kg of G4 covered the inside 6 times.
Water Feature
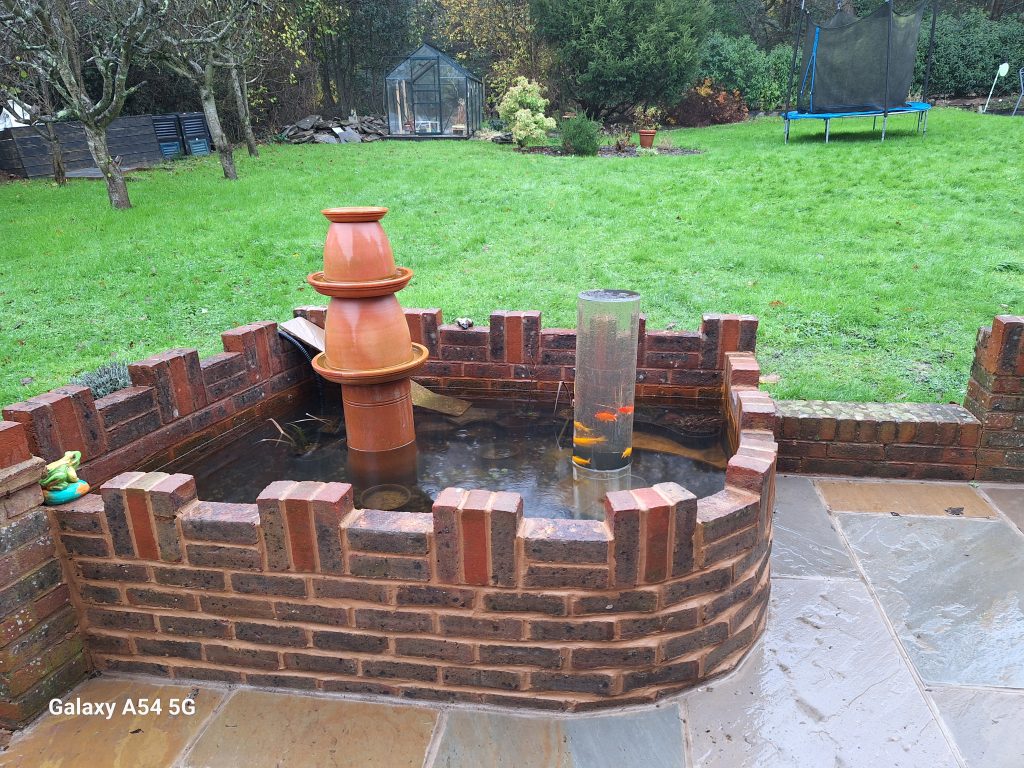
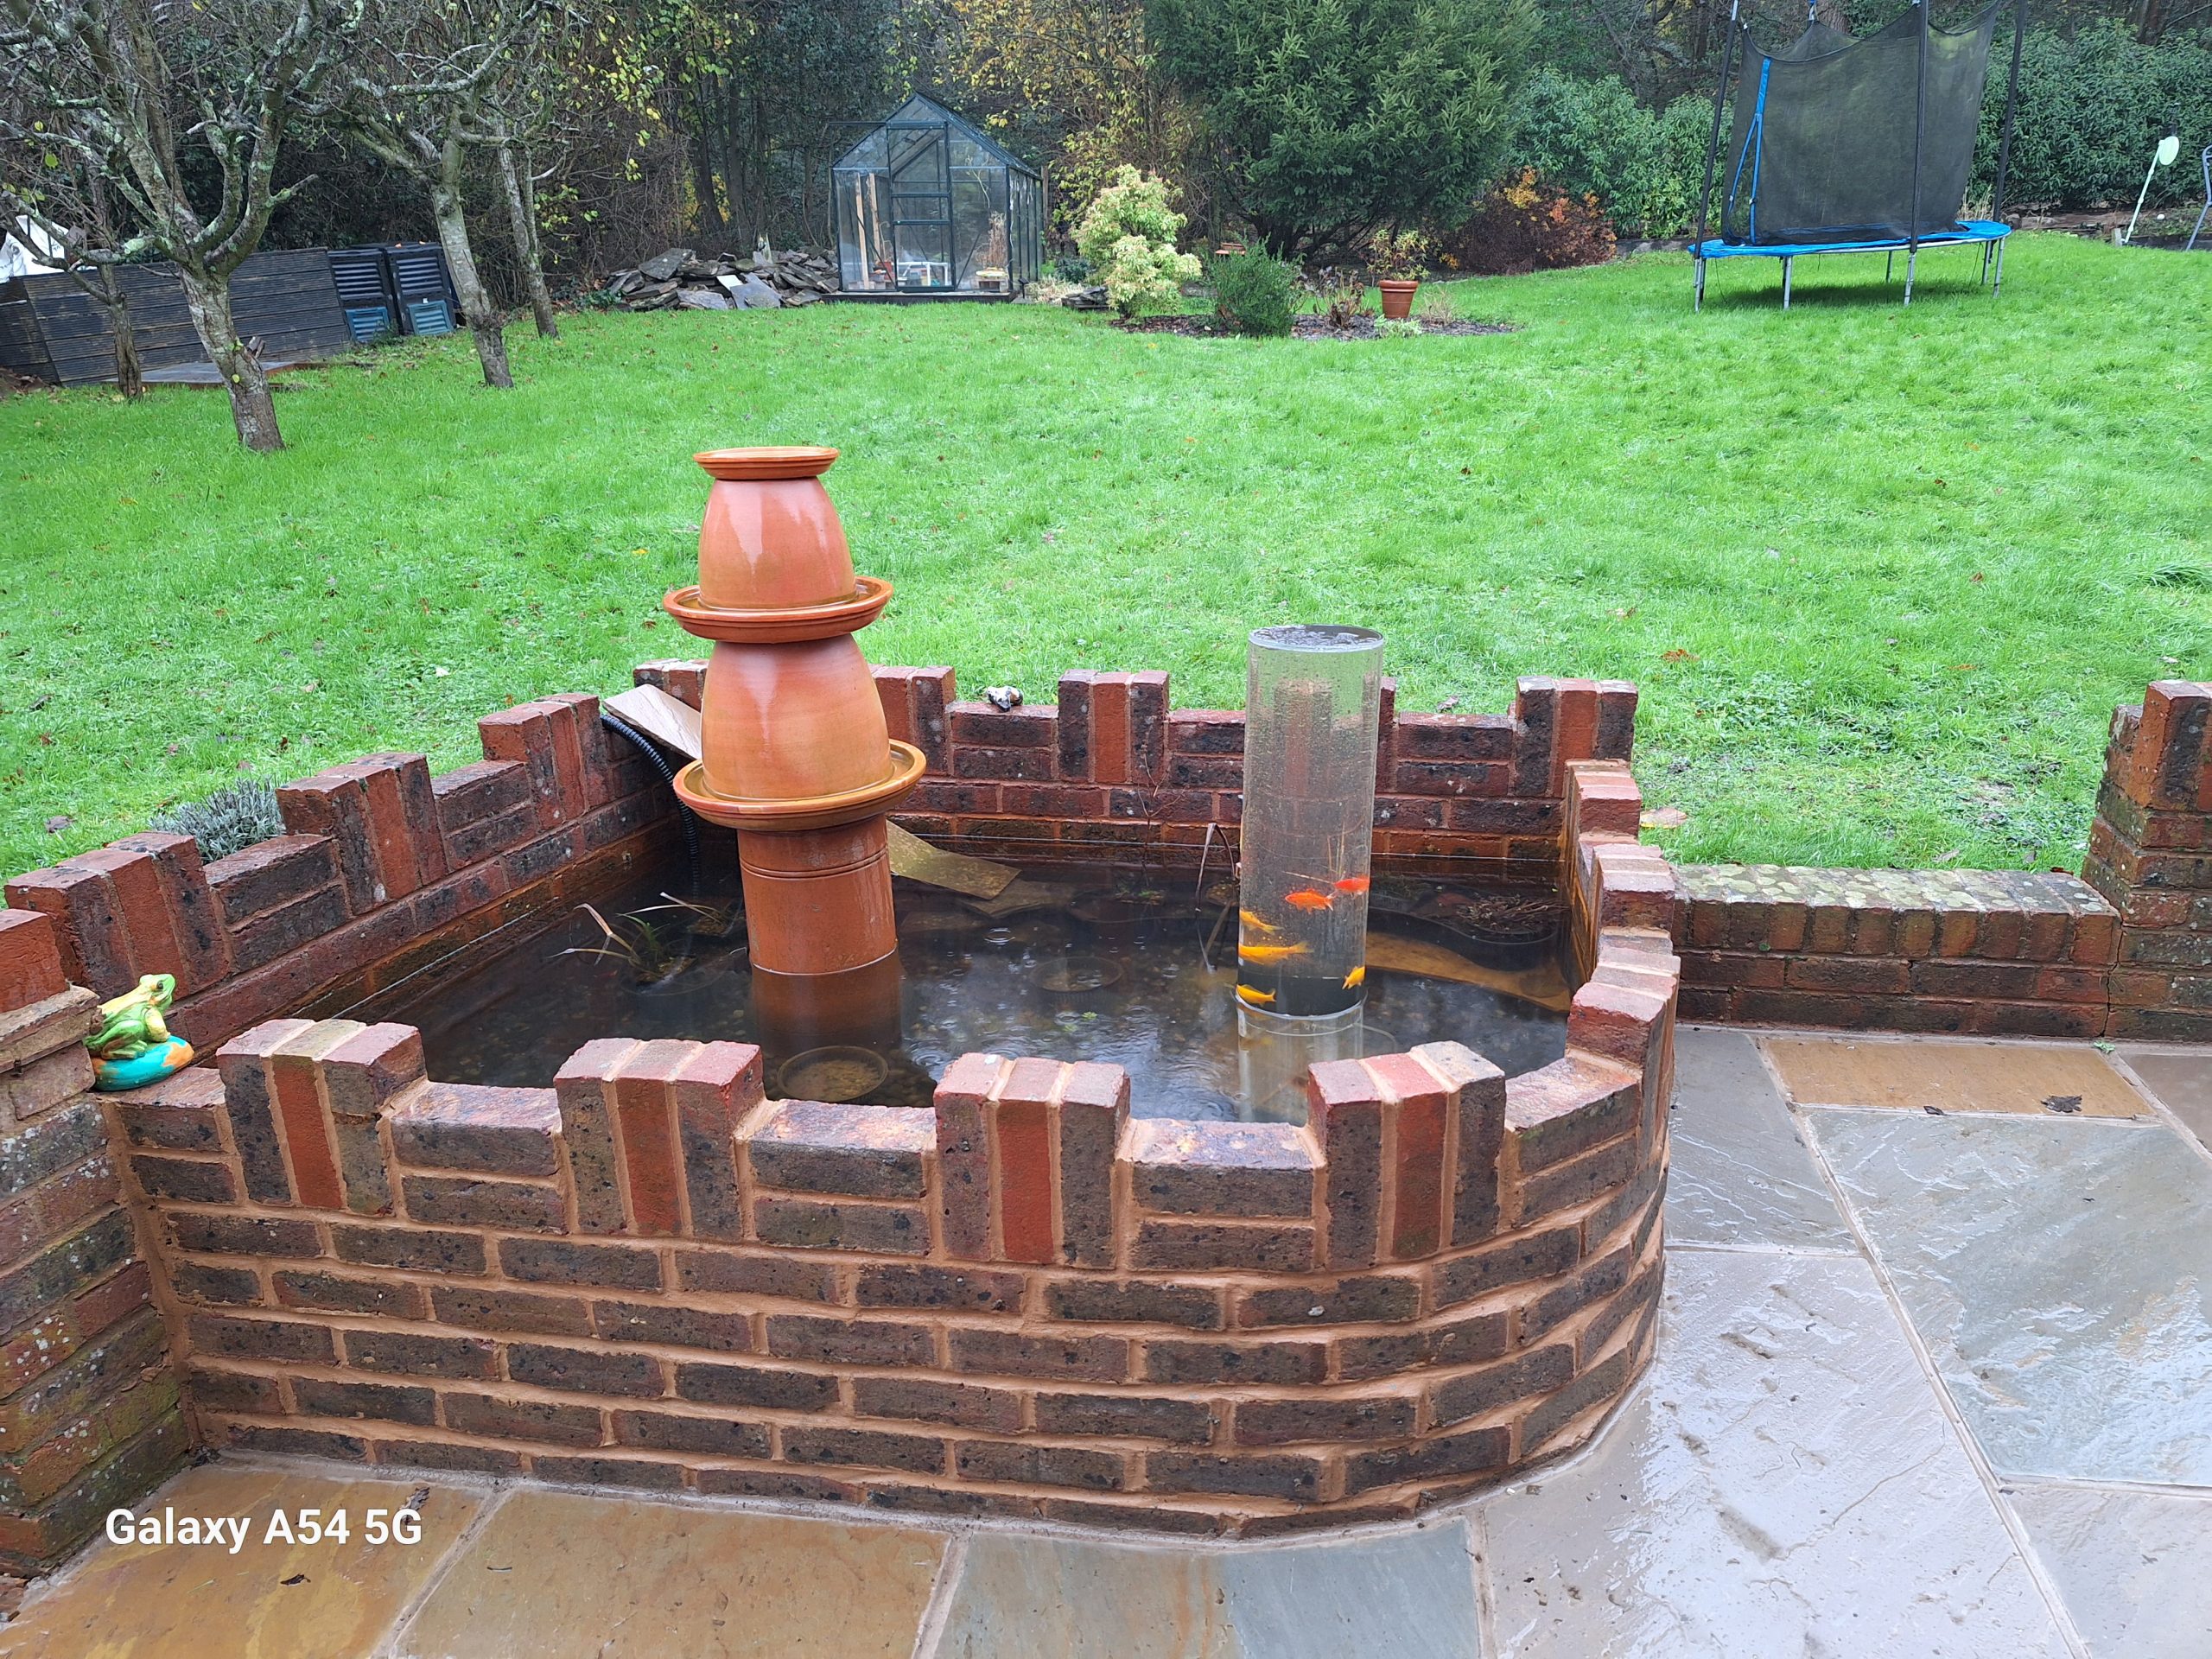
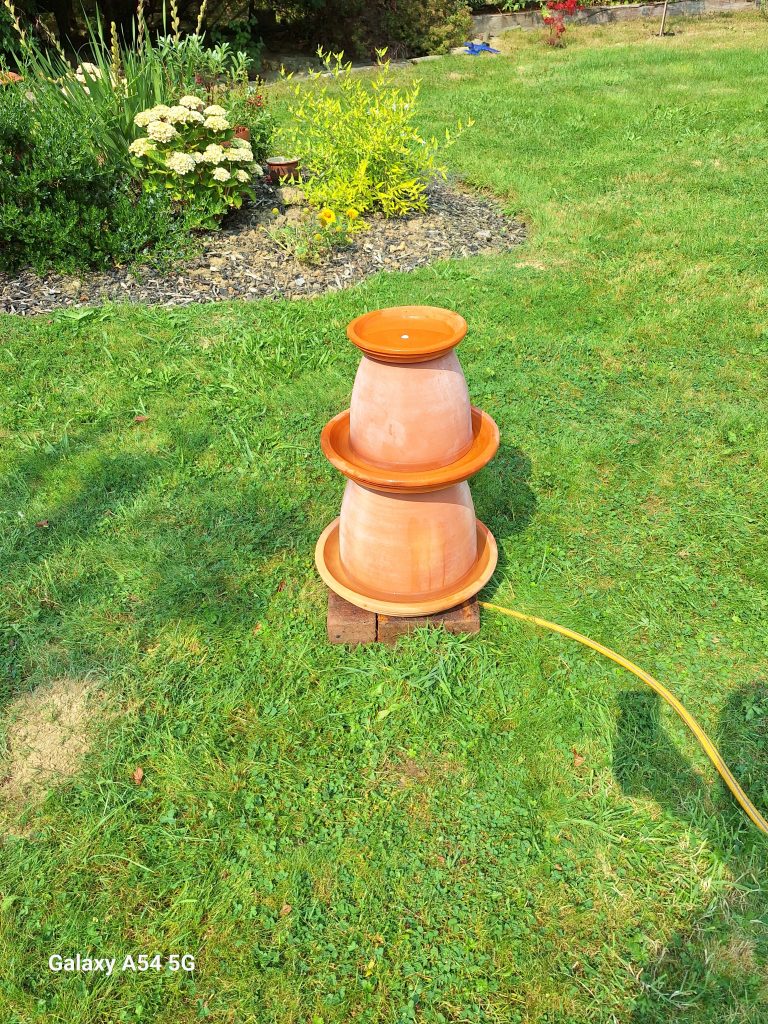
The point of the pond was to have the sound of running water in the garden so a fountain is a must. At the local garden centre I fund a range of ceramic plat pots and dishes of different sizes which once a hole had been drilled and hosepipe inserted made a really lovely Feature. Placed on top of a old chimney pot and I had my cascade..
Sky Palace
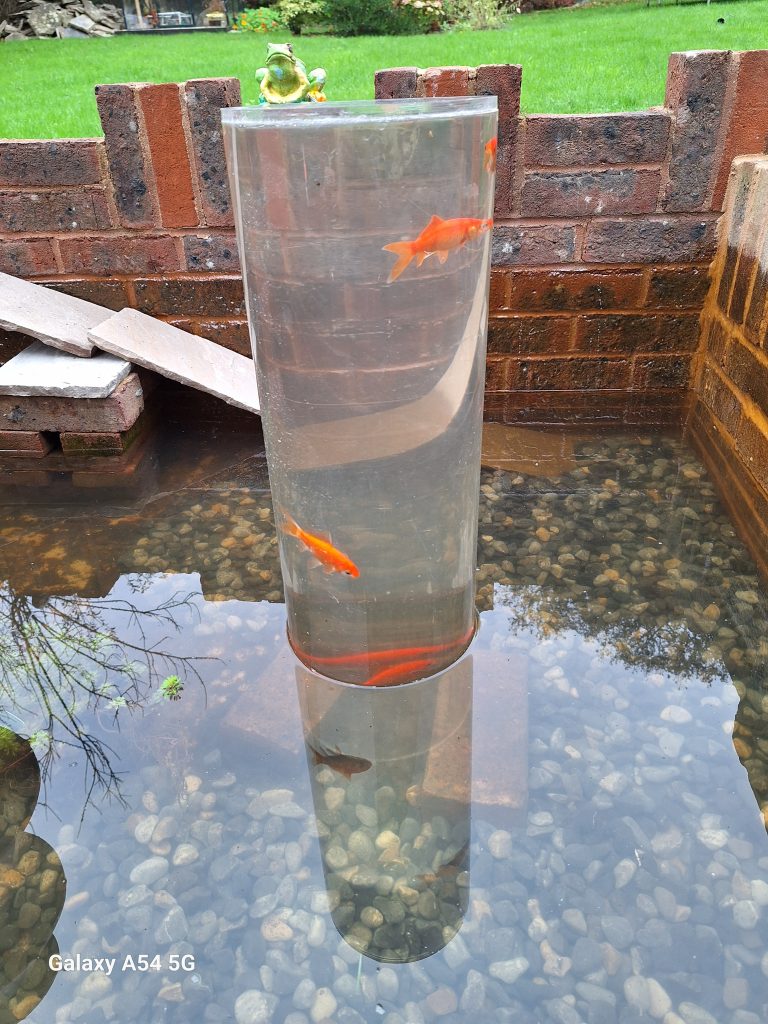
The defining feature of the pond however is the sky palace. This is a 30 cm acrylic tube sealed at one end and suspended on a frame in the bottom of the pond. By filling the tube with pond water and then positioning it upside down, mostly out of the water the fish have the ability to swim in and out of the bottom and rise up to look out.
Final Pond
Now re-sealed and filled with rain water, my pond is ready. I have the ramp at the back so that frogs newts and other wildlife can come and go. Plants and other rocky ledges so that the fish can hide. A pressurised water filter that filters and UV cleans the water before the fountain and of course a couple of sets of goldfish (Orange and yellow).
I have to say I am pretty pleased with it!! Will update in the summer when the plats have grown.
